Image Generation
Have you ever wished you could talk to your TV? Maybe you'd like to just say whatever you're thinking and have the TV generate a picture of it? For this app, we're going to pair a mobile phone, use speech recognition on the phone to capture some voice input, and create a picture using generative AI.
- Source code: https://github.com/synamedia-senza/imagine/
- Demo: https://senzadev.net/imagine/

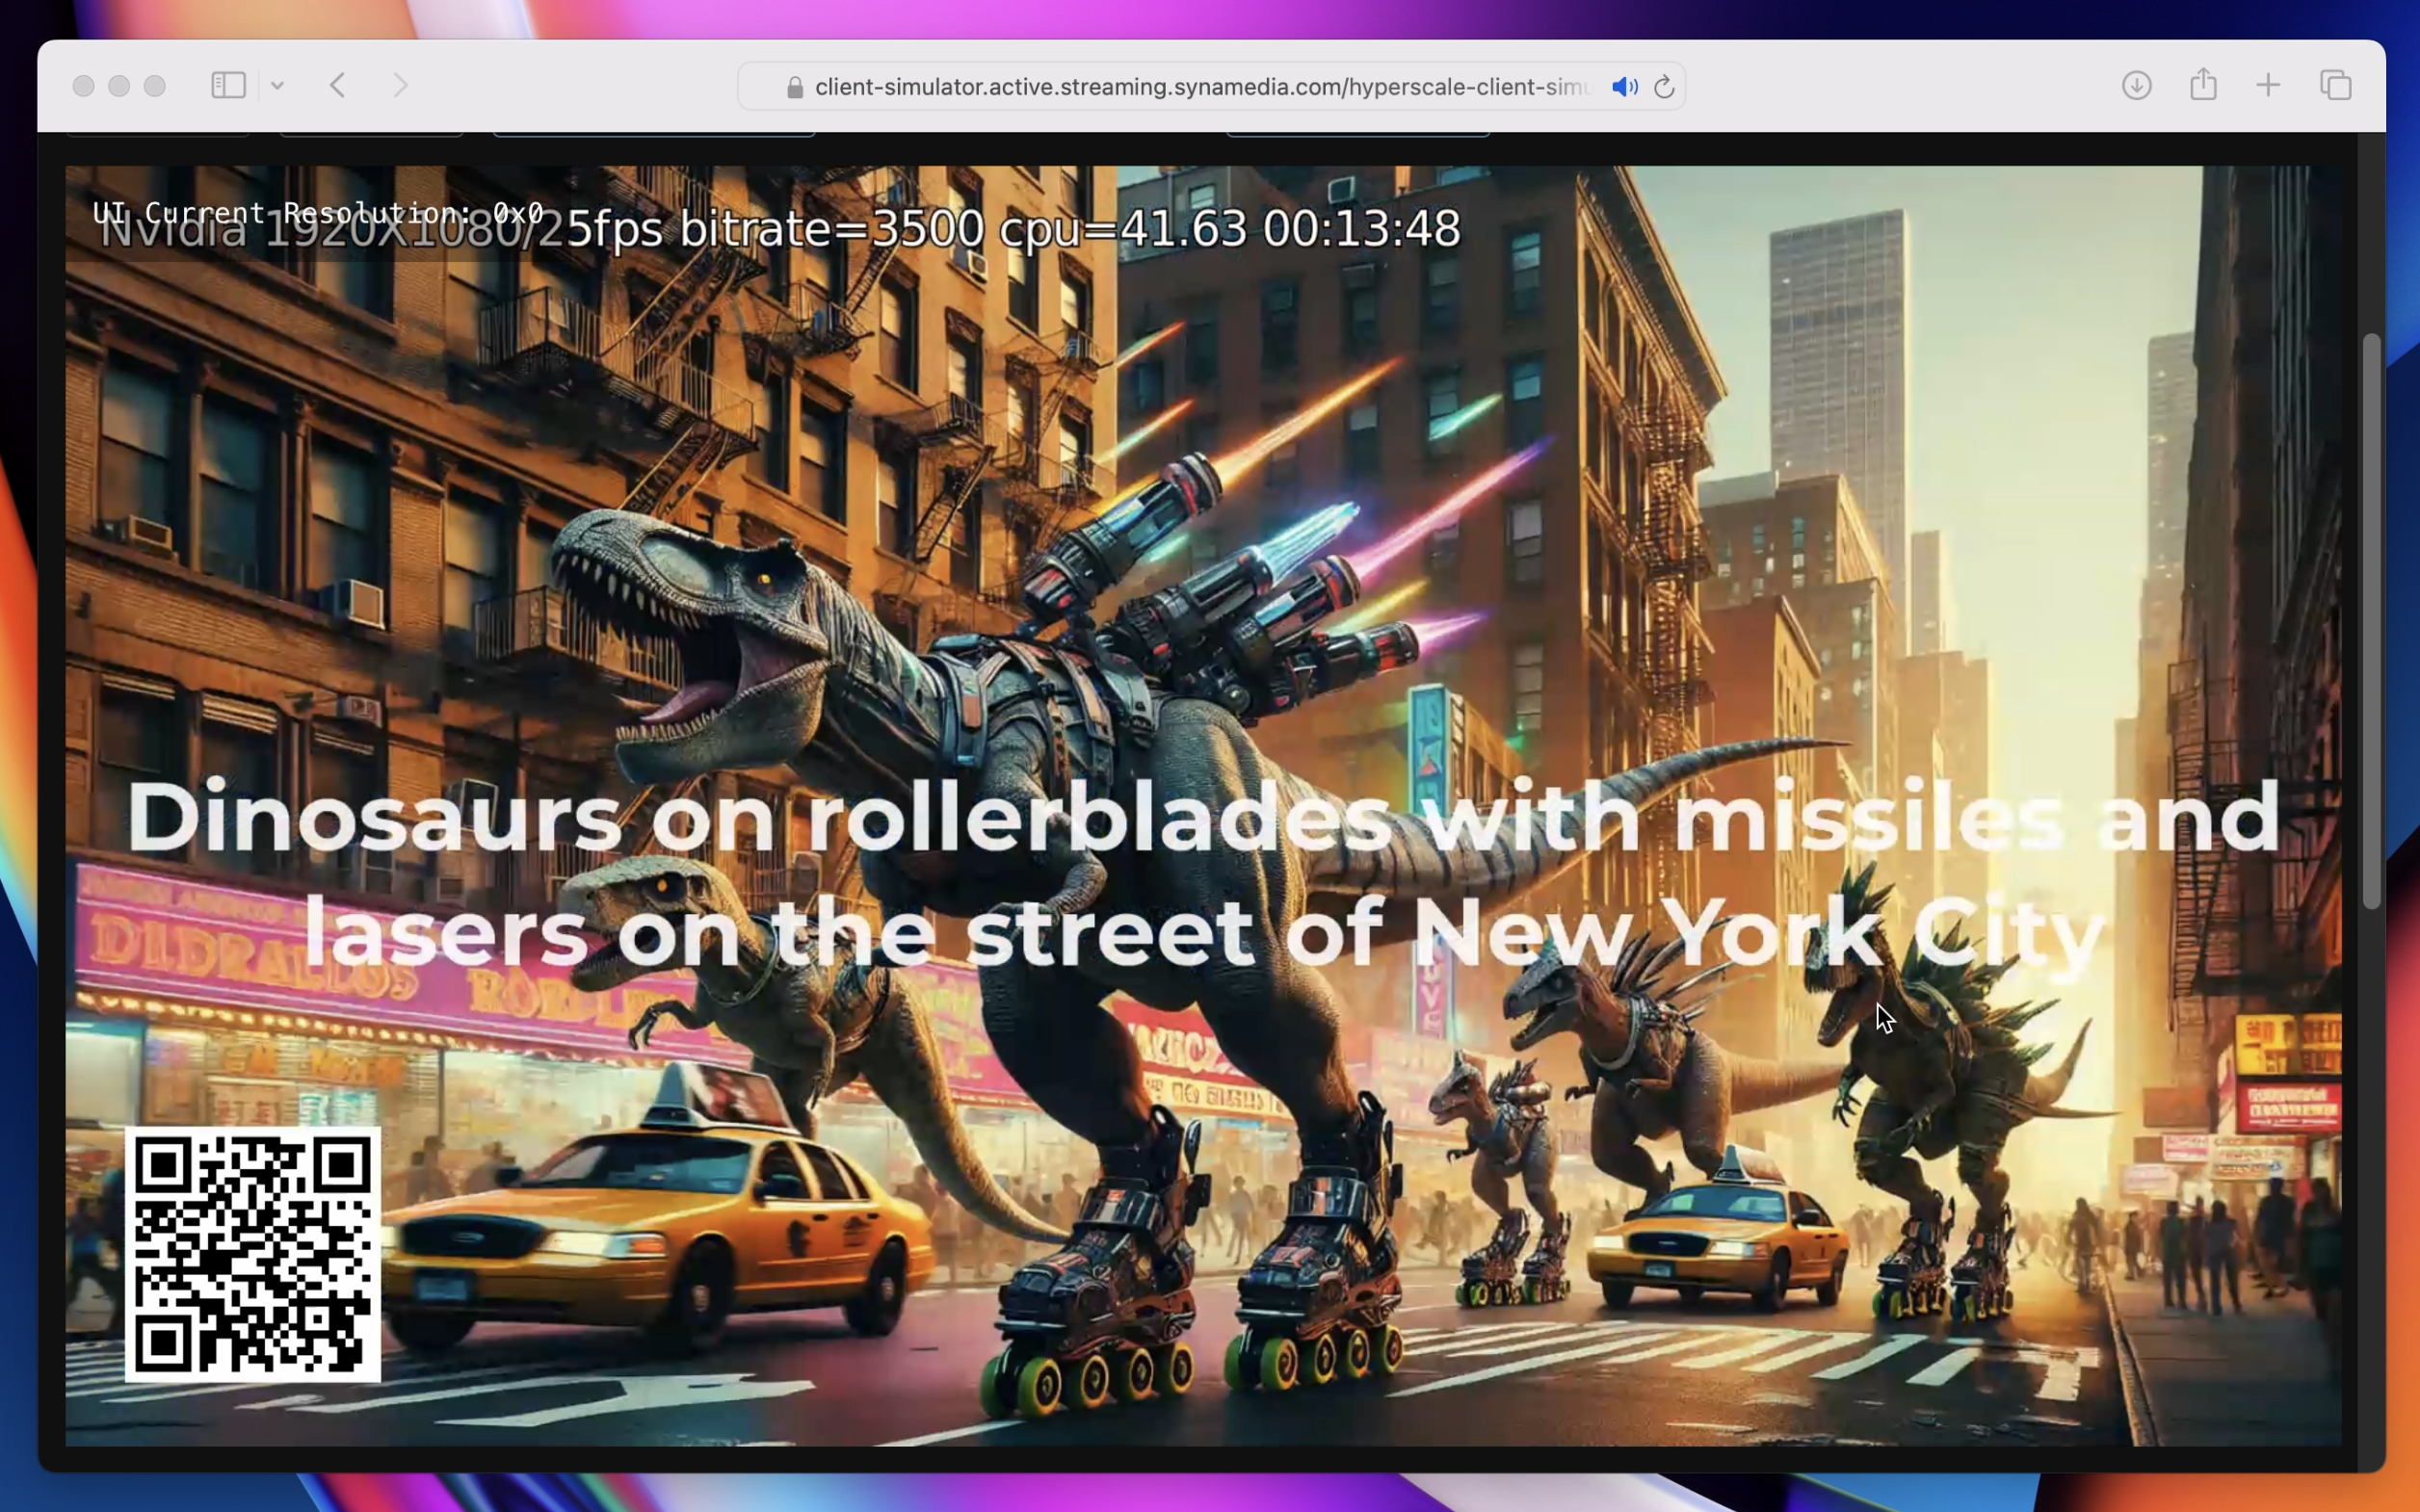
On the companion phone app, if you say "dinosaurs on rollerblades with missiles and lasers on the street of New York City", it will generate this rather terrifying image:

Video tutorial
Architecture
Our app will have three parts: a web app that runs on Senza, a web app that runs on a mobile device, and a Socket.io server that is used for forwarding events and calling the OpenAI API. We'll generate a QR code for display on the TV app that can be scanned with a mobile phone to open the companion app.
We'll use the microphone and speech recognition capabilities of the mobile phone. When the phone recognizes a voice prompt, it will send a message to the Socket.io server which will simply forward it to all other clients.
The Socket.IO server will serve the two web apps from its public folder. The default app that runs on the TV will be called index and the one that shows the remote control on the mobile device will be called remote. Each web app will have an HTML and JavaScript files, and they will share a CSS file.
Security
To keep things simple for demo purposes, this app doesn't implement device-based security. Every client that is connected, whether the TV app or the phone app, will see the same content. For a sample app that generates device-specific QR codes for pairing mobile devices, see the Smart Remote tutorial.
TV App
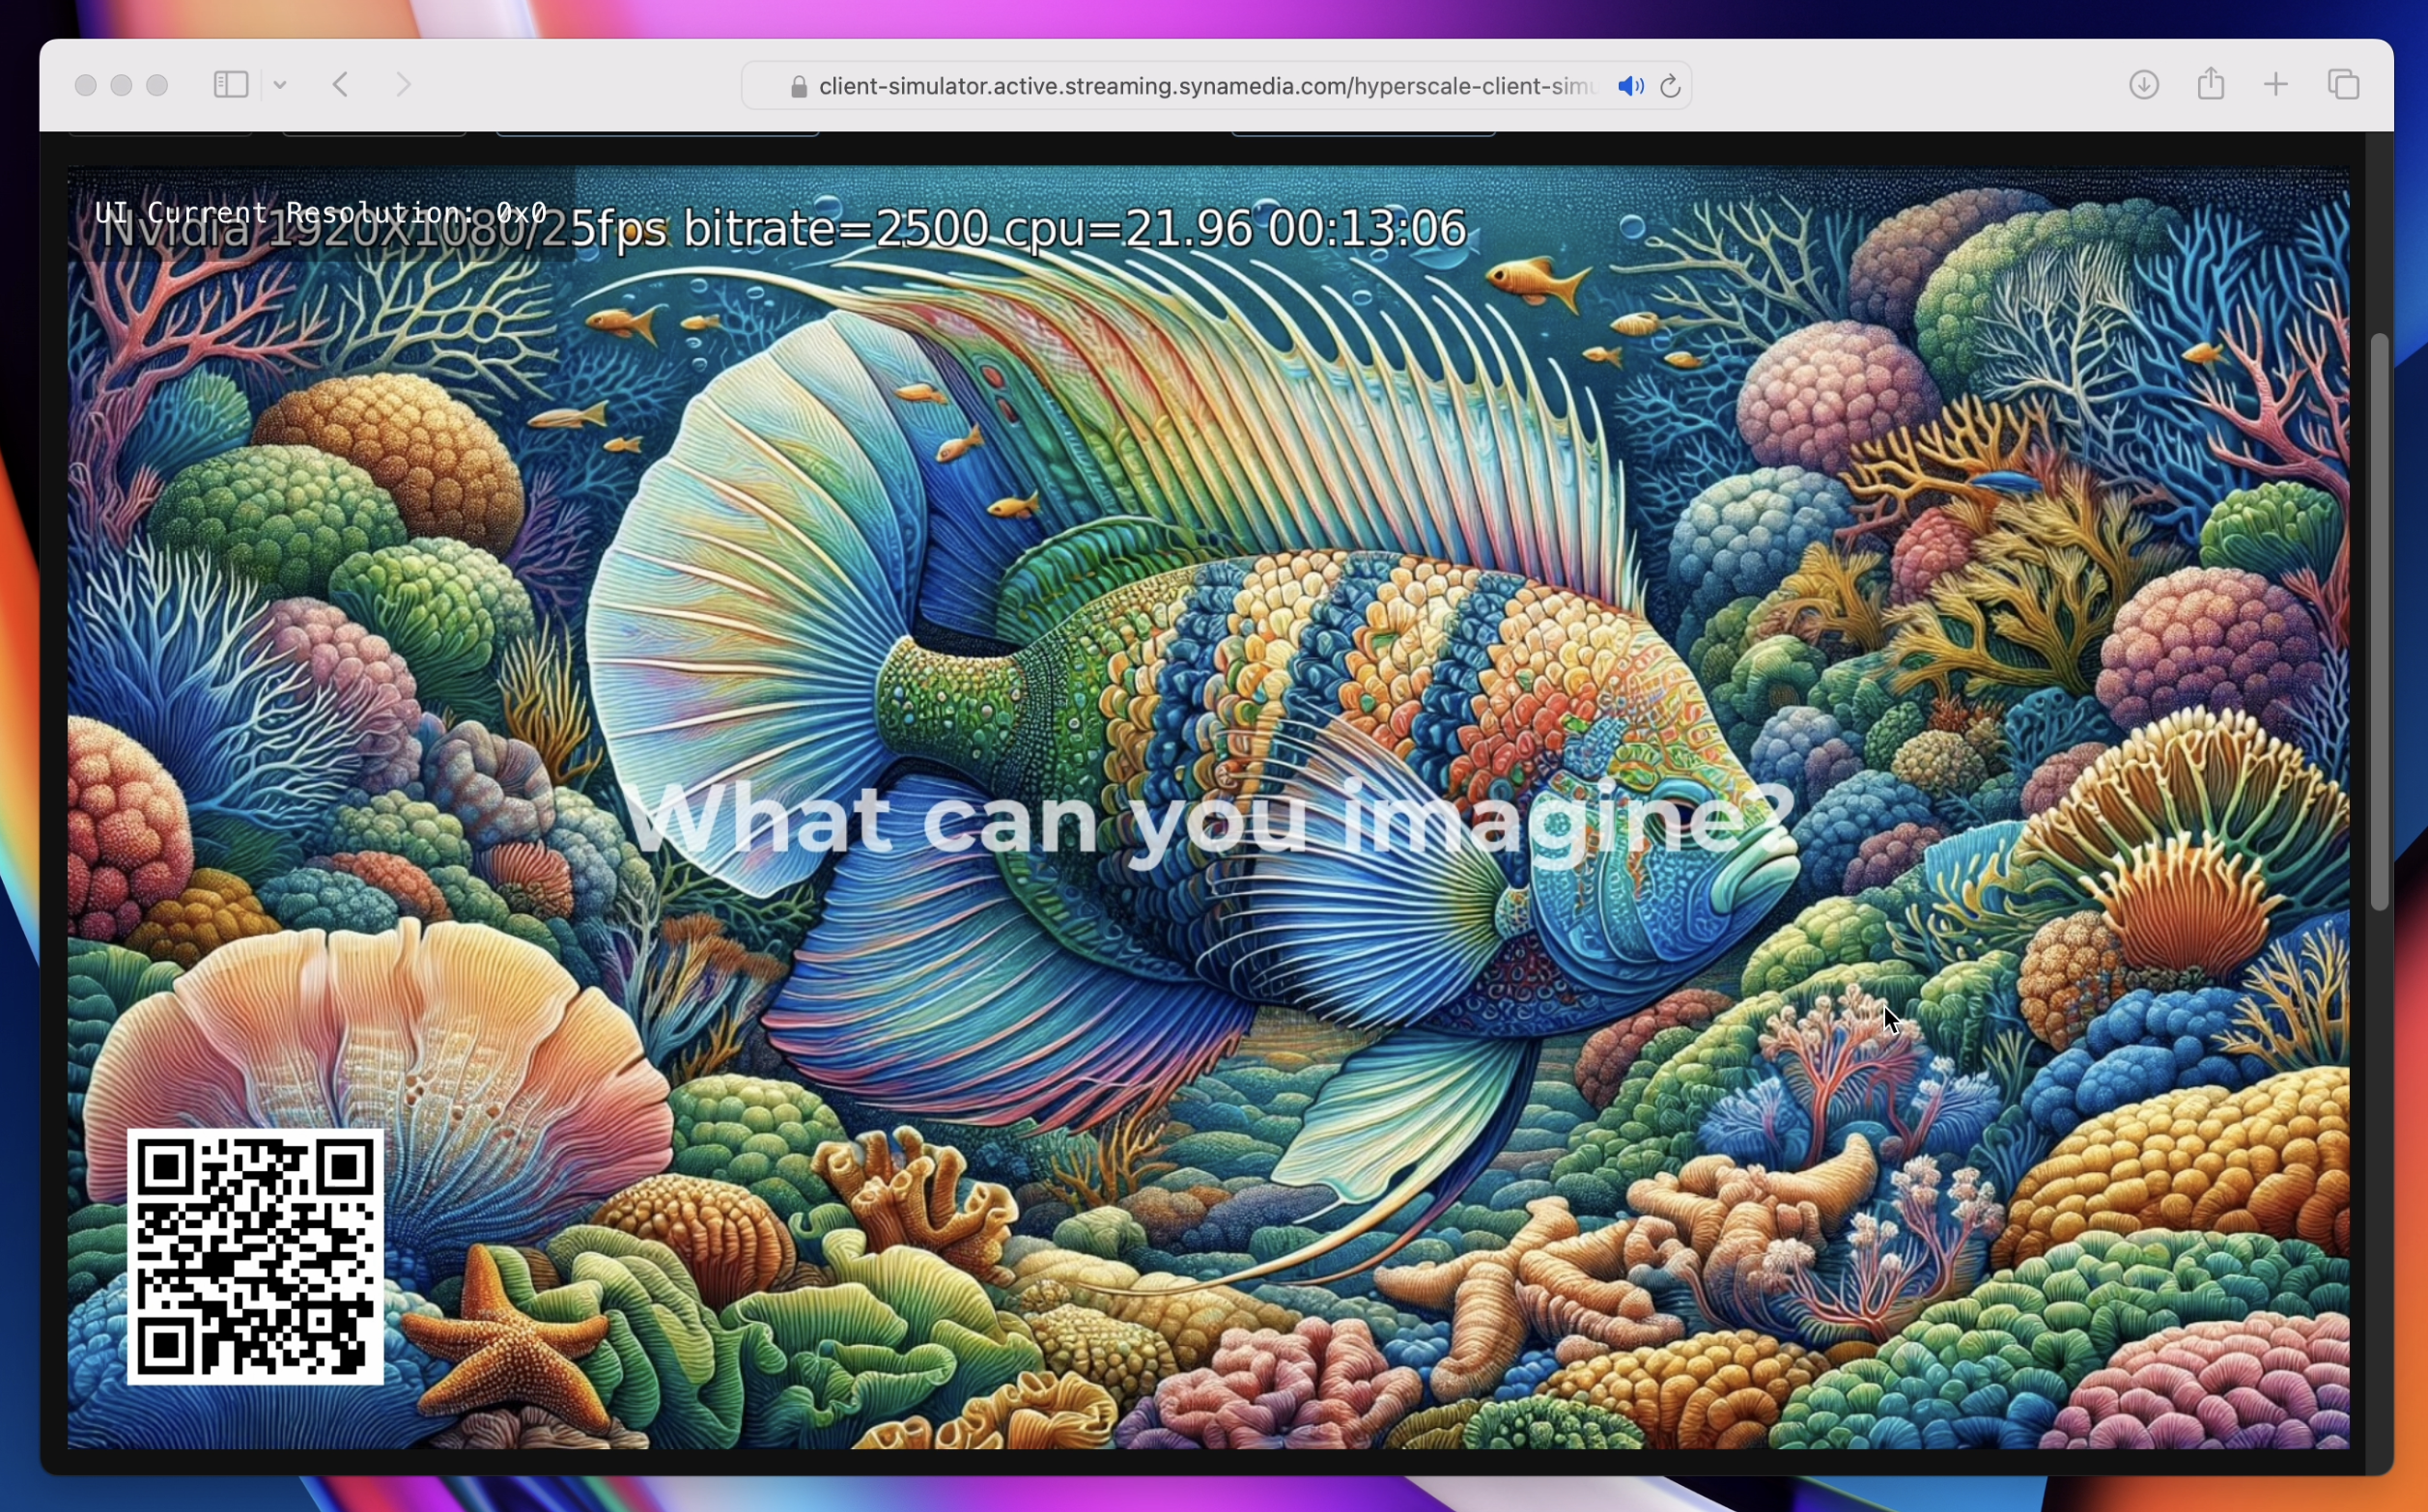
The TV app will start with an index.html page like this. We'll have a simple page with a full screen wallpaper image (which defaults to a very colorful fish), an img element in the corner for displaying a QR code, and a div in the middle of the screen that can show our voice prompt.
<!DOCTYPE html>
<html>
<head>
	<title>Imagine</title>
	<meta charset="UTF-8">
	<link rel="stylesheet" href="styles.css">
</head>
<body>
<div class="tv">
  <img id="image" src="images/fish.jpg">
  <img id="qrcode" src="">
  <div id="request"></div>
</div>
</body>
<script src="js/socket.io-1.0.0.js"></script>
<script src="index.js"></script>
</html>
The index.js script will hold the source code for the TV app. We'll start with some code that generates a URL for the page remote.html on the same server as the current page, creates a QR code for that URL, and displays the QR code in the corner of the screen.
function generateCode(text, size) {
  let data = encodeURIComponent(text);
  let src = `http://api.qrserver.com/v1/create-qr-code/?data=${data}&size=${size}x${size}`;
  qrcode.src = src;
}
let page = window.location.href;
if (page.endsWith("html") || page.endsWith("/")) {
  page = page.substring(0, page.lastIndexOf('/'));
}
generateCode(page + "/remote.html", 200);

document.addEventListener("keydown", function(event) {
	switch (event.key) {
    case "ArrowUp": qrcode.style.opacity = 1.0; break;
    case "ArrowDown": qrcode.style.opacity = 0.0; break;
		default: return;
	}
	event.preventDefault();
});
For convenience the user can hit the down arrow to hide the QR code, and the up arrow to show it again.
When the user scans that QR code with their phone, it will open the...
Mobile App
The remote.html page has a microphone icon button that can be used to start and stop listening, and some divs for displaying the voice commands as they are recognized: one for the interim results displayed word by word, and one for the final results when the command is complete.
<!DOCTYPE html>
<html>
<head>
	<title>Imagine</title>
	<meta charset="UTF-8">
	<meta name="viewport" content="width=480" />
	<link rel="stylesheet" href="styles.css">
</head>
<body>
<br>
<button class="icon" id="start_button" onclick="microphone(event)"><img class="icon" src="images/mic.png"></button>
<div id="info"></div>
<div id="final"></div>
<div id="interim"></div>
</body>
<script src="js/socket.io-1.0.0.js"></script>
<script src="remote.js"></script>
</html>
The remote.js script uses WebKit's built-in speech recognition functionality to capture voice input. When the user taps the microphone icon, it will prompt them to allow use of the microphone, and then start listening. Each time it captures a word, it will call the onresult callback. Normally the isFinal flag will be false, but if it thinks that the user has completed a sentence it will call it with isFinal set to true.
Each time some words are recognized, it will emit a message to the server. The name of the message will be interim or final, depending on the status of the isFinal flag. Note that in this case we don't display the text in the user interface directly... we're going to wait for a message from the server that updates the content on all clients at the same time.
let socket = io.connect(location.hostname);

socket.emit('hello', '');

socket.on('update', (message) => {
  interim.innerHTML = message.interim;
  final.innerHTML = message.final;
});

const tapTheMic = "Tap the mic to listen.";
const whatDoYouWant = "What can you imagine?";

function showInfo(string) {
  info.innerHTML = string;
}
showInfo(tapTheMic);

let recognition = new webkitSpeechRecognition();
let recognizing = false;

recognition.lang = 'en-US';
recognition.continuous = true;
recognition.interimResults = true;
recognition.onstart = () => {
  recognizing = true;
  showInfo(whatDoYouWant);
};
recognition.onend = () => {
  recognizing = false;
};
recognition.onresult = (event) => {
  for (let i = event.resultIndex; i < event.results.length; ++i) {
    let value = event.results[i][0].transcript;
    if (event.results[i].isFinal) {
      socket.emit("final", {"final": value});

      if (recognizing) {
        recognition.stop();
        showInfo(tapTheMic);
      }
    } else {
      socket.emit("interim", {"interim": value});
    }
  }
};

function microphone(event) {
  if (recognizing) {
    recognition.stop();
    showInfo(tapTheMic);
  } else {
    socket.emit('reset', '');
    recognition.start();
  }
}
Server
The imagine.js script implements our app's Node.js server. The data model is an object called state that has properties for the interim and final messages and the source of the image to be displayed.
We'll start up a basic Socket.io server which acts as a reflector. It listens for messages from the mobile client, updates the internal state, and then broadcasts an update message to all connected clients. As a reminder, this demo doesn't implement device-specific state, but you can reference the Smart Remote app which does.
const express = require("express");
const app = express();
const errorHandler = require('errorhandler');
const hostname = process.env.HOSTNAME || 'localhost';
const port = parseInt(process.env.PORT, 10) || 8080;
const publicDir = process.argv[2] || __dirname + '/public';
const io = require('socket.io').listen(app.listen(port));

app.use(express.static(publicDir));
app.use(errorHandler({ dumpExceptions: true, showStack: true}));

console.log("Imagine server running at " + hostname + ":" + port);

let state = {"interim": "What can you imagine?", "final": "", "src": ""};

io.sockets.on('initialload', function (socket) {
	socket.emit('update', state);
});

io.sockets.on('connection', (socket) => {
  socket.on('hello', (message) => {
  	io.sockets.emit('update', state);
  });

  socket.on('interim', (message) => {
    state.interim = message.interim;
  	io.sockets.emit('update', state);
  });

  socket.on('final', async (message) => {
    console.log(message.final);
    state.final = message.final;
    state.interim = "";
  	state.src = "";
    io.sockets.emit('update', state);
  });
});
When any client first connects, it will send a hello message, which triggers the server to broadcast an update message. When it receives an interim or final message, it updates that property in the state and again broadcasts it to all clients. For the purpose of simplicity the functionality of the server is very basic.
Image Generation
We'll use the OpenAI package to generate images based on the voice prompts. If you'd like to run the app yourself, you can create an account on openai.com, get an API key, and save it in the config.json file. That's used in the code below when creating an OpenAI object.
Update the handler for the final message with the code below, which calls the generate() function with the voice prompt. See the image generation documentation for details on the API. The function will take about ten seconds to run and then return the URL of the generated image. Then the code updates the state with the URL and sends another update message.
const config = require("./config.json");
const { OpenAI } = require("openai");
const openai = new OpenAI({apiKey: config.OpenAIApiKey});

function generate(prompt) {
  return openai.images.generate({
    model: "dall-e-3", prompt, n: 1, size: "1792x1024"
  }).then((response) => {
    return response.data[0].url;
  }).catch((error) => {
    console.log(error);
    return null;
  });
}

socket.on('final', async (message) => {
  console.log(message.final);
  state.final = message.final;
  state.interim = "";
  state.src = "";
  io.sockets.emit('update', state);

  state.src = await generate(message.final);
  if (state.src) {
    state.final = "";
  } else {
    state.final = "error";
  }
  io.sockets.emit('update', state);
});
Receiving
Back on the TV app, we'll use Socket.io to receive messages from the server.
We'll use CSS animations to display the text in a few different ways. When we receive an interim message, we'll display it at 75% opacity. When we receive the final message, we'll display it with a pulsing effect that ranges between 45% and 85% opaque. That gives the user something to look at while they're waiting. When the final animation comes through we'll display the text at 100% opacity for a few seconds and then hide it.
And of course, the most important line in the code below is that when we get a URL in the message, we'll update the wallpaper to display the generated image.
let socket = io.connect(location.hostname);

socket.emit('hello', '');

socket.on('update', (message) => {
  console.log(message);

  if (message.interim) {
    request.innerHTML = message.interim;
    request.style.opacity = 0.75;
  } else if (message.final) {
    request.innerHTML = message.final;
    request.style.animationDuration = "2.0s";
    request.style.animationIterationCount = "infinite";
    request.style.animationName = "pulse";
  } else if (message.src) {
    image.src = message.src;
    request.style.animationDuration = "7.0s";
    request.style.animationIterationCount = 1;
    request.style.animationName = "final";
    setTimeout(() => request.style.opacity = 0.0, 7000);
  }
});
Conclusion
Voila, in this demo we've learned how to pair a mobile phone using a QR code, capture voice input, synchronize state between connected devices using Socket.IO, and create images using generative AI. Putting it all together, now you can talk to your TV and have it show you whatever you want to see.
For part 2 of this tutorial, see App Generation to learn how you can extend the demo to generate whole apps instead of just images!
Updated about 2 months ago