QR Code Authentication
Authenticating devices using a QR code and mobile device
In the first part of this tutorial, we learned how to perform Device Authentication, to ensure that when your app starts up the user is signed in automatically. However, this relies on a distribution process where the device is associated with their account in advance.
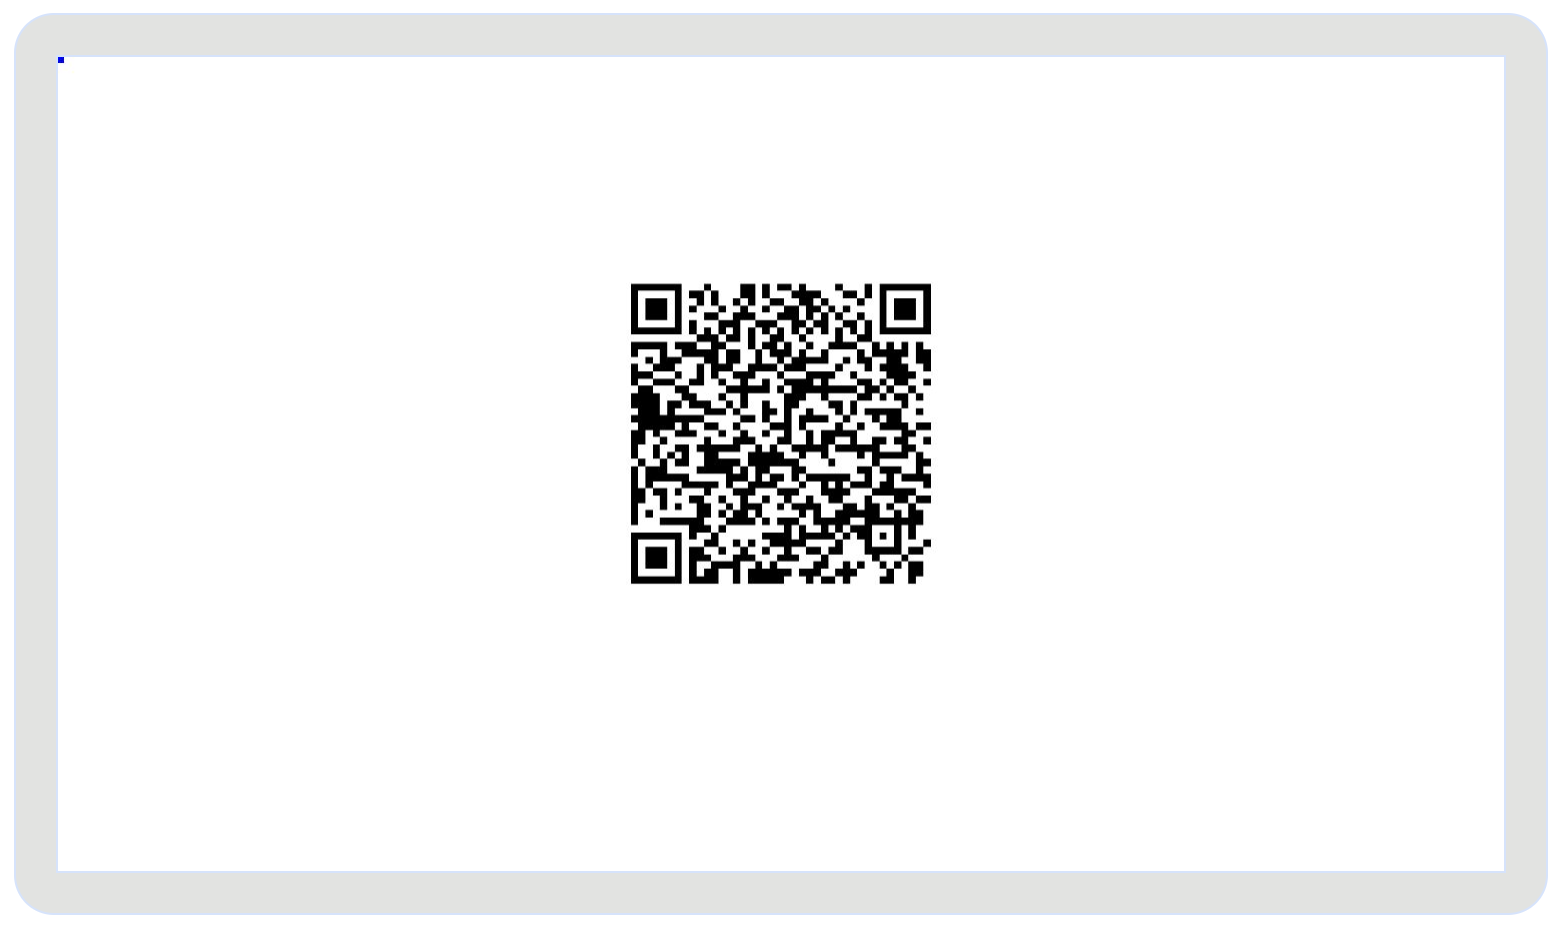
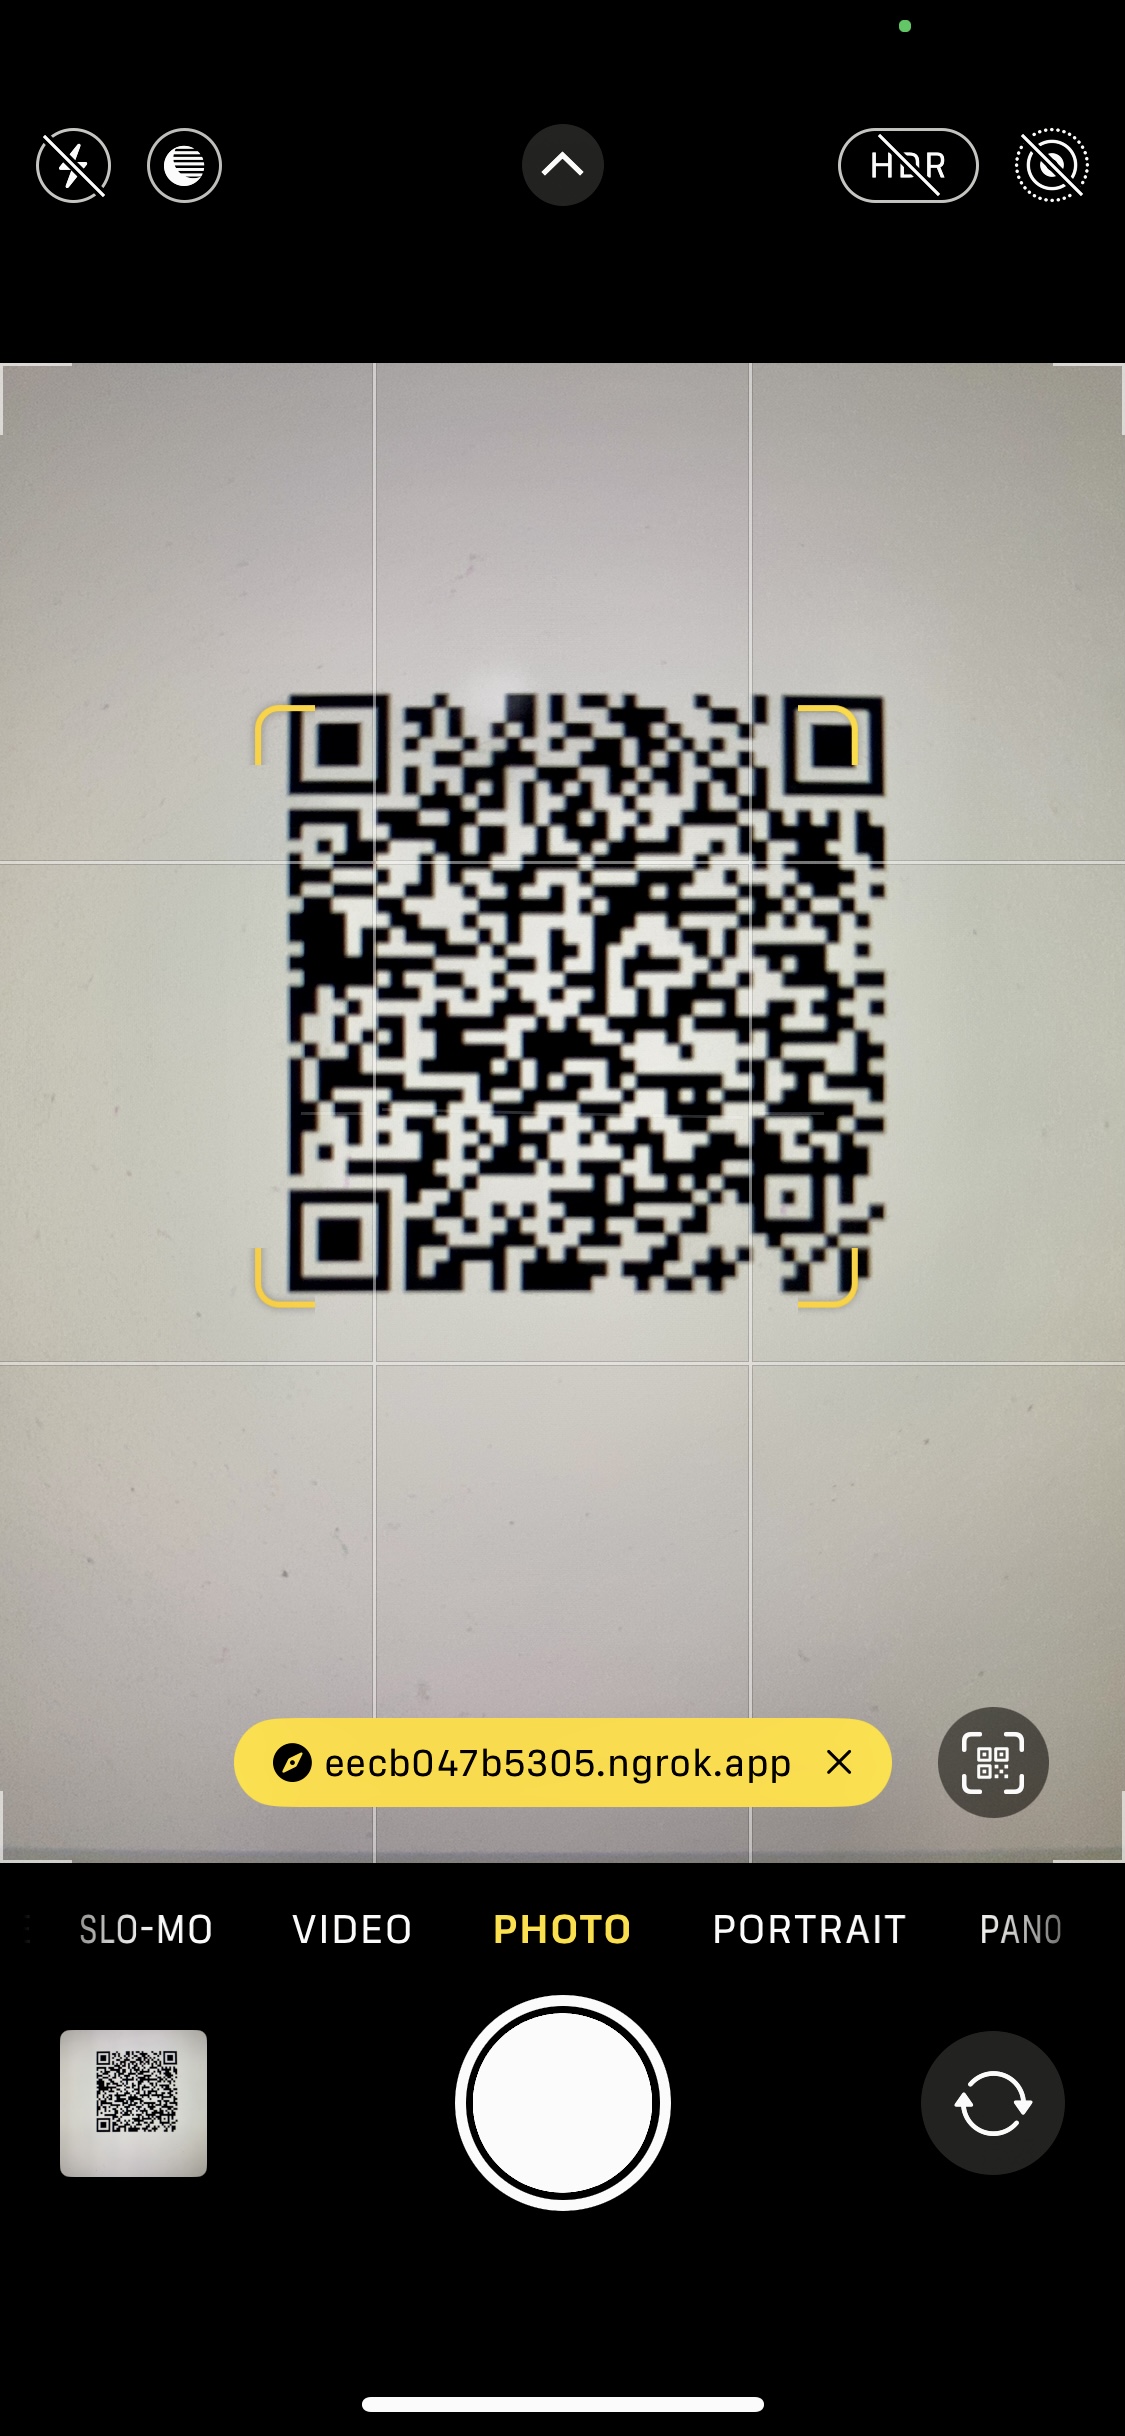
If this is not practical, we can have the user sign in with their username and password the first time they use the app. Typing with a remote control isn't very practical, so we'll display a QR code they can scan with their mobile phone, and have them sign in there. You can then bind their device so the user never needs to think about it again.
- Source code: https://github.com/synamedia-senza/hello
- Demo: https://senzadev.net/hello
- Video tutorial: Device Authentication
Start by reading the first part of the tutorial. We'll extend the same app with additional functionality to handle the case where the device has not been previously associated with an account.

Passwords
First, let's extend the data model in config.json to add a password hash to each account. Instead of storing and transmitting passwords in the clear, we'll use a password hash function to convert a password string to a number. When the user signs in, we'll hash their password, send it to the server, and verify that the hashes match.
"eliza": {
    "name": "Eliza",
    "color": "#CCCDFD",
    "password": 1634710681
},
You can use this passwordHash() function to create password hashes:
function passwordHash(str) {
  let hash = 0;
  for (let i = 0, len = str.length; i < len; i++) {
    let chr = str.charCodeAt(i);
    hash = (hash << 5) - hash + chr;
    hash |= 0; // Convert to 32bit integer
    hash = Math.abs(hash);
  }
  return hash
}
The demo credentials are username eliza, password Senza2024 (which hashes to 1634710681). You can customize the config file with your own user info.
We'll also make a small change to the function that implements the /hello API to avoid returning the password in the UserInfo . We'll make a copy of the UserInfo object and delete the password from it before sending it.
app.get('/hello', function (req, res) {
  try {
    let deviceId = validateAccessToken(req);
    let userInfo = structuredClone(getUserInfo(deviceId));
    delete userInfo.password;
    res.json(userInfo);
  } catch (error) {
    res.status(401).json({message: error.message});
  }
});
Show QR code
When the client calls the /hello API to authenticate, the server will return a 401 Unauthorized error if the device is not bound to a user account. If that happens, we'll display a QR code to sign in.
async function hello() {
  let response = await fetch("/hello", {
  	headers: { "Authorization": "Bearer " + accessToken }
  });
  if (response.status == 401) {
    console.log("Unauthorized.");
    showQRCode();
  }
  let json = await response.json();
  console.log("Hello: ", json);
  updateUserInfo(json);
}
The showQRCode() function performs the following things:
- Gets the URL of the current page, and removes the filename (everything after the last slash).
- Appends to the name of the page we want the QR code to lead to,
login.html. We'll include the access token after the hash so that the app can make an authenticated API call to the server. - Generates a QR code image, updates the source of the
qrcodeimg element and makes it visible.
function showQRCode() {
  let page = window.location.href;
  if (page.endsWith("html") || page.endsWith("/")) {
    page = page.substring(0, page.lastIndexOf('/'));
  }
  let size = 400;
  let data = encodeURIComponent(page + "/login.html#" + accessToken);
  let src = `https://api.qrserver.com/v1/create-qr-code/?data=${data}&size=${size}x${size}`;
  qrcode.src = src;
  qrcode.style.display = "block";

}
This demo will use a simple web page that is served by the node app, but if you have a native mobile app where the user is already logged in you could take them there instead.

Login Page

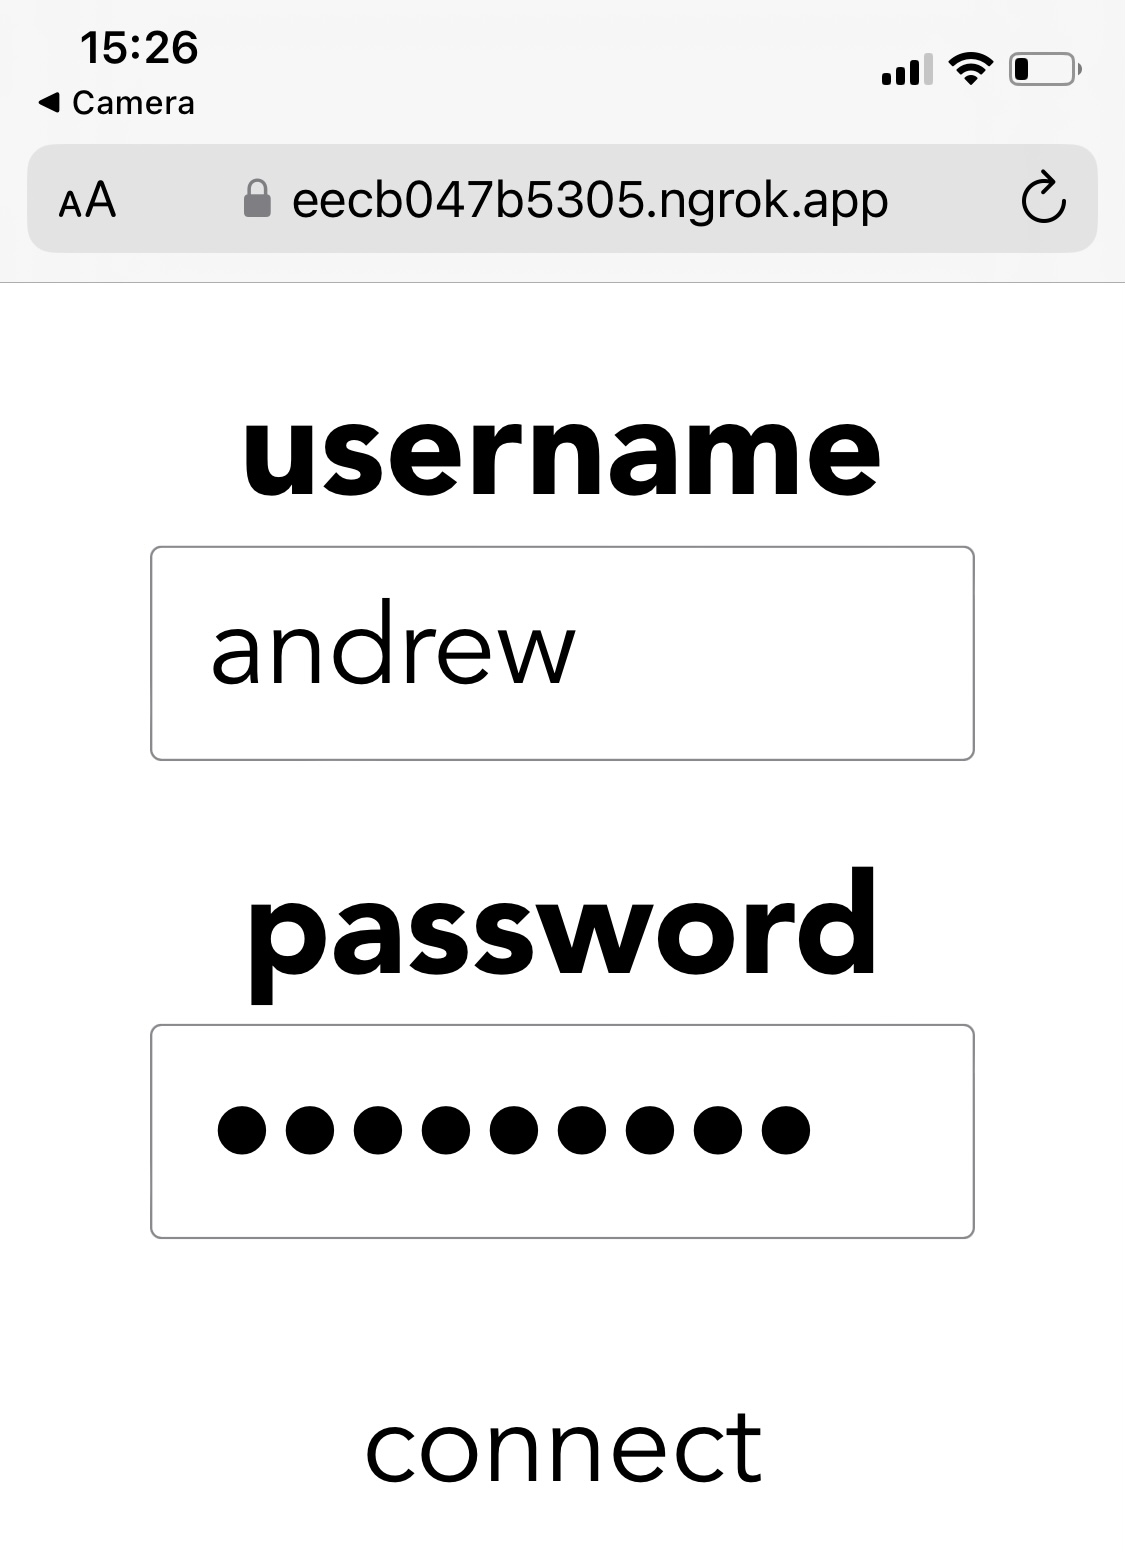
In the public folder, we'll add a simple hello.html page with username and password fields, and a connect link.
<!DOCTYPE html>
<html>
<head>
  <title>Hello</title>
  <meta name="viewport" content="width=480" />
</head>
<body id="body">

  <h2 class="label">username</h2>
  <input type="email" id="username" name="username" size="12"><br>

  <h2 class="label">password</h2>
  <input type="password" id="password" name="password" size="12"><br>

  <a id="link" onclick="authorize()">connect</a>

</body>
<script type="text/javascript" src="login.js"></script>
</html>
In the login.js script, we'll add a single authorize() function that sends the username and password hash. We'll make an authenticated request using the same access token that the other page uses to talk to the server.
function authorize() {
  let accessToken = (window.location.hash || "#").substring(1);
  fetch("/authorize", {
    method: "POST",
    body: JSON.stringify({
      username: username.value,
      password: passwordHash(password.value)
    }),
    headers: {
      "Authorization": "Bearer " + accessToken,
      "Content-type": "application/json"
    }
  }).then(response => {
    if (response.ok) {
      link.innerHTML = "connected!"
    } else {
      link.innerHTML = "try again!"
    }
  });
}
We'll include the passwordHash() function from the beginning of the tutorial here as well.
We'll give the user some feedback by changing the text of the link depending upon whether it worked or not.
Binding Device
On the server, we'll implement the /authorize endpoint to check that an account exists with the given username, and that the password hash matches.
If everything looks good, we call devices[deviceId] = username to bind the device to the user. For the purpose of this demo we'll modify the in-memory data model, but it will not be persisted if you restart the server. In production you'll want to save this configuration change to your database.
app.post('/authorize', function (req, res) {
  try {
    console.log(req.body);
    let deviceId = validateAccessToken(req);
    let username = req.body.username;
    if (!username) throw new Error("Missing username.");
    let userInfo = users[username];
    if (!userInfo) throw new Error("Invalid username: " + username);
    let password = req.body.password;
    if (!password) throw new Error("Missing password.");
    if (password != userInfo.password) throw new Error("Invalid password: " + password);

    // authorized the device for the user
    // you should store this in your database
    devices[deviceId] = username;
    console.log("Authorized " + username);

    // let the app know to try using device authorization again
    sendDeviceMessage(deviceId, {authorized: true}, "DeviceAuthorized");

    res.json({status: "authorized"});
  } catch (error) {
    console.log(error.message)
    res.status(401).json({message: error.message});
  }
});
Device Notification
Once the user has signed in on their phone and we have bound the device to their account, your app will now be able to use device based authentication. There's just one thing: your app doesn't know that yet. So we'll use the Message Manager to send a notification to the device to let your app know that it can go ahead and try again.
Make sure you've read the instructions on Making Authenticated API Requests, and that you've obtained a client ID and client secret. In the __ file, add an oauth object that we can use for calling the Senza API:
"oauth":
    "client_id": "your_client_id",
    "client_secret": "your_client_secret",
    "audience": "https://projects.synamedia.com",
    "grant_type": "client_credentials"
},
Add a function to get an access token for calling the Senza API. We'll call it senzaAccessToken to distinguish it from the access tokens that we're creating for the API implemented by this server.
async function getSenzaAcesssToken() {
  let tokenResponse = await fetch("https://auth.synamedia.com/oauth/token", {
  	method: "post",
  	body: JSON.stringify(config.oauth),
  	headers: {"Content-Type": "application/json"}
  });
  let json = await tokenResponse.json();
  return json.access_token;
}

let senzaAccessToken = "";
getSenzaAcesssToken().then((token) => {
  senzaAccessToken = token;
  setTimeout(() => senzaAcesssToken = getSenzaAcesssToken(), 21600000);
});
These access tokens are valid for six hours so we'll refresh them periodically.
And we'll use this function to send a message to the device with a given ID:
async function sendDeviceMessage(deviceId, payload, eventName) {
  await fetch("https://hyperscale-message-broker-main.ingress.active.streaming.synamedia.com/" +
    "message-broker/1.0/messages/devices/" + deviceId, {
  	method: "post",
  	body: JSON.stringify({
      payload,
      eventName,
      "target": "application",
      "origin": "internal"
    }),
  	headers: {
      "Content-Type": "application/json",
      "Authorization": "Bearer " + senzaAccessToken
    }
  });
}
As you can see in the previous section, we have a call to this function to let the client know that the device has been authorized and it can try again.
sendDeviceMessage(deviceId, {authorized: true}, "DeviceAuthorized");
On the client side, update the import statement to import messageManager:
import { init, uiReady, auth, deviceManager, messageManager } from "@Synamedia/hs-sdk";
Inside the window load event listener, register to receive messages. We'll just make another call to the hello function to try signing in again.
messageManager.addEventListener("message", async (event) => {
  hello();
});
When you put it all together, the effect is that when you tap connect on the phone, the device updates instantly!
Since this feature uses authorization for a particular tenant, the demo installation at https://hello-417813.ue.r.appspot.com probably won't be able to send a message to your device. But the next time you start the app it should authenticate automatically.
Goodbye
Once the device is bound to an account, the server will store the connection in memory as long as it is running (In production you would want to save that to your user database). If you'd like to try the process several times, it would be helpful to have a convenient way to log out. We'll add a goodbye (opposite of hello) feature to let the user sign out by pressing the back button (escape key) on the remote.
On the client side, we'll add a key listener for the back button. It will call a goodbye() function that makes an authenticated call to the /goodbyeendpoint. It will then hide the banner message, reset the background color and show the QR code again.
document.addEventListener("keydown", (event) => {
  if (event.key == "Escape") {
    goodbye();
  }
});

async function goodbye() {
  let response = await fetch("/goodbye", {
  	headers: { "Authorization": "Bearer " + accessToken }
  });
  banner.innerHTML = "";
  body.style.backgroundColor = "white";
  showQRCode();
}
On the server, the /goodbye endpoint validates the request and then removes the device from the list of authorized devices.
app.get('/goodbye', function (req, res) {
  try {
    let deviceId = validateAccessToken(req);

    // deauthorze the device for the user
    // you should remove this from your database
    delete devices[deviceId];
    console.log("Deauthorized " + deviceId);

    res.json({});
  } catch (error) {
    console.log(error.message)
    res.status(401).json({message: error.message});
  }
});
Conclusion
In this tutorial you've seen how you can implement a best-of-both-worlds solution where the user can take advantage of seamless device-based authentication when feasible, and can fall back to a simple process where they can use a QR code and their mobile phone to bind their device to their account.
This approach preserves the security of your system by using access tokens instead of device IDs, and password hashes instead of passwords in cleartext. It has a separation of concerns with individual maps of access tokens to device IDs, device IDs to usernames, and usernames to account info. In this demo they are all stored in the same process, but in production you could separate these into separate processes or even different servers.
Updated over 1 year ago