Program Guide
This tutorial shows how easy it can be to integrate an existing app with the Senza platform. We'll start with a full-featured program guide that lets you browse and play video streams. With just a few changes you'll see how you can take full advantage of Senza.
- Source code: https://github.com/synamedia-senza/program-guide
- main branch before integration
- senza branch after integration
- pull request showing difference between the two branches
- Demo: https://senzadev.net/program-guide/
User Interface
When you launch the app, it will display several rows of video thumbnails. You can use the arrow keys to choose a video. Press the OK button to select a video, and it will start playing full screen.
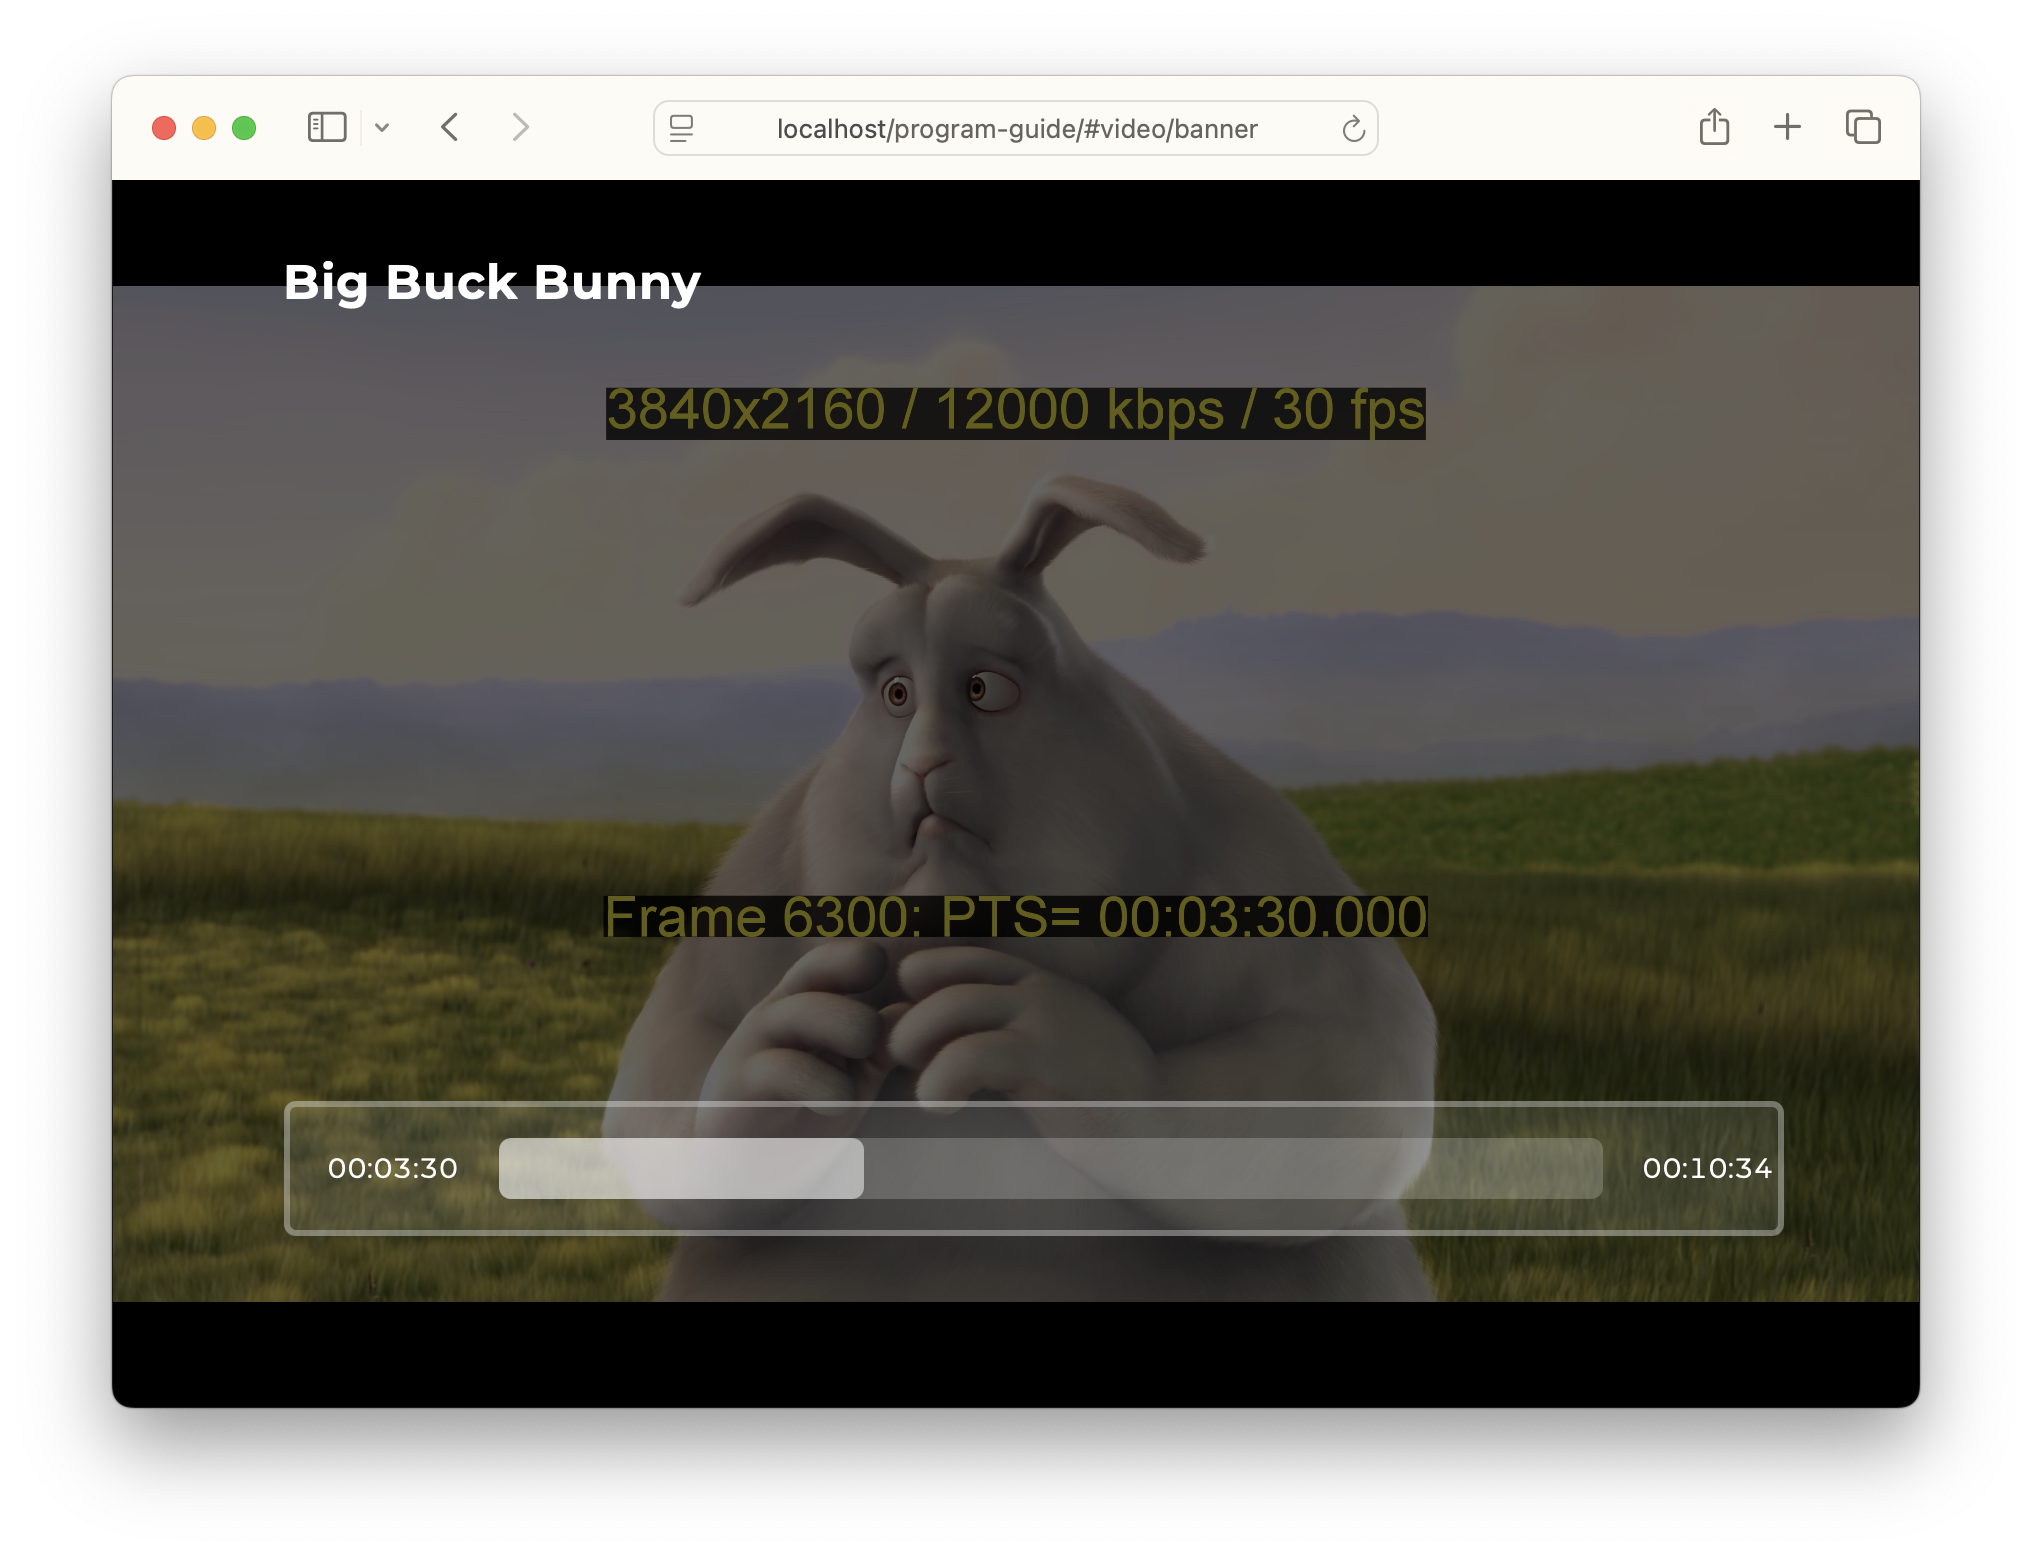
Press the OK button again to pause the video and show the timeline. You can then use the left and right buttons to jump backwards and forwards. Press back to return to the video, and back again to return to the home page.
App Structure
Here is an outline of the files in the app:
index.html— web page including script tagsscript.js— entry point for the app that loads other filessrccore/uielment.js— helper functions for working with HTML elementskey.js— handles remote control key mappingnavigator.js— supports navigation on the home pagepage.js— a full screen view
data.js— list of videos- page
main.js— the home pagevideo.js— playing video fullscreenbanner.js— overlay with controls
- widgets
player.js— the video playerswimlane.js— a row of video thumbnails
The app is designed with three pages that can be layered one on top of the other: main, video and banner. Starting with main, pressing OK goes up the stack and pressing back goes back down the stack.
App Integration
Now we'll see how to integrate the app with Senza in just a few steps. If you clone the repo, you'll find that the main branch contains the version of the app before integration and the senza branch shows the app after integration. There's also a pull request that highlights the changes.
At a high level, the changes we'll make are:
- Import the
senza-sdkscript - Call
senza.init() - Replace the
shaka.Player()with thesenza.ShakaPlayer()subclass - Enable
lifecycle.autoBackgroundto switch to background automatically - Call
senza.uiReady()
Let's go through each of these steps one at a time.
1. Installation
First we'll import the Client Library. We'll use the script tag rather than the NPM package because it's a little simpler. In the index.html file, add the following line:
<script type="text/javascript" src="https://senza-sdk.streaming.synamedia.com/latest/bundle.js"></script>Next we'll initialize the client library by calling the senza.init() function in player.js . Make sure to do this before creating the player, because the Remote Player will expect to be loaded after it is called.
In player.js, we'll replace the code that loads the Shaka player to use the client library's Shaka Player subclass. It's a drop-in replacement that adds support for the Remote Player, so you can stream video to the cloud connector just as easily as playing video in your app.
Replace the standard Shaka player:
this.player = new shaka.Player();
this.player.attach(this.video);
With the Senza Shaka Player subclass:
this.player = new senza.ShakaPlayer();
this.player.attach(this.video);The Senza platform has two modes:
- In foreground mode, your app runs as normal in the browser.
- In background mode, video is streamed directly to the cloud connector.
The Lifecycle object is used to switch between foreground and background mode. You can do this manually if you prefer, but it's easer to let the auto-background feature handle this for you automatically. After a period of no button press activity, it will switch to the background. When the user presses any button, it will return to foreground.
We'll enable auto-background and set the timeout to 15 seconds like this.
senza.lifecycle.configure({
    autoBackground: {enabled: true, timeout: {playing: 15, idle: 15}}
});
If video is playing when moving to background mode, it will switch to streaming the video from the CDN. If video is not playing, it will simply show the last frame from the browser.
5. UI Ready
Once the user interface is ready, let the client library know by calling the uiReady() function. You typically want to do that in the window's load event callback. We'll add this to script.js:
window.addEventListener('load', () => {
    senza.uiReady();
});
Test it out
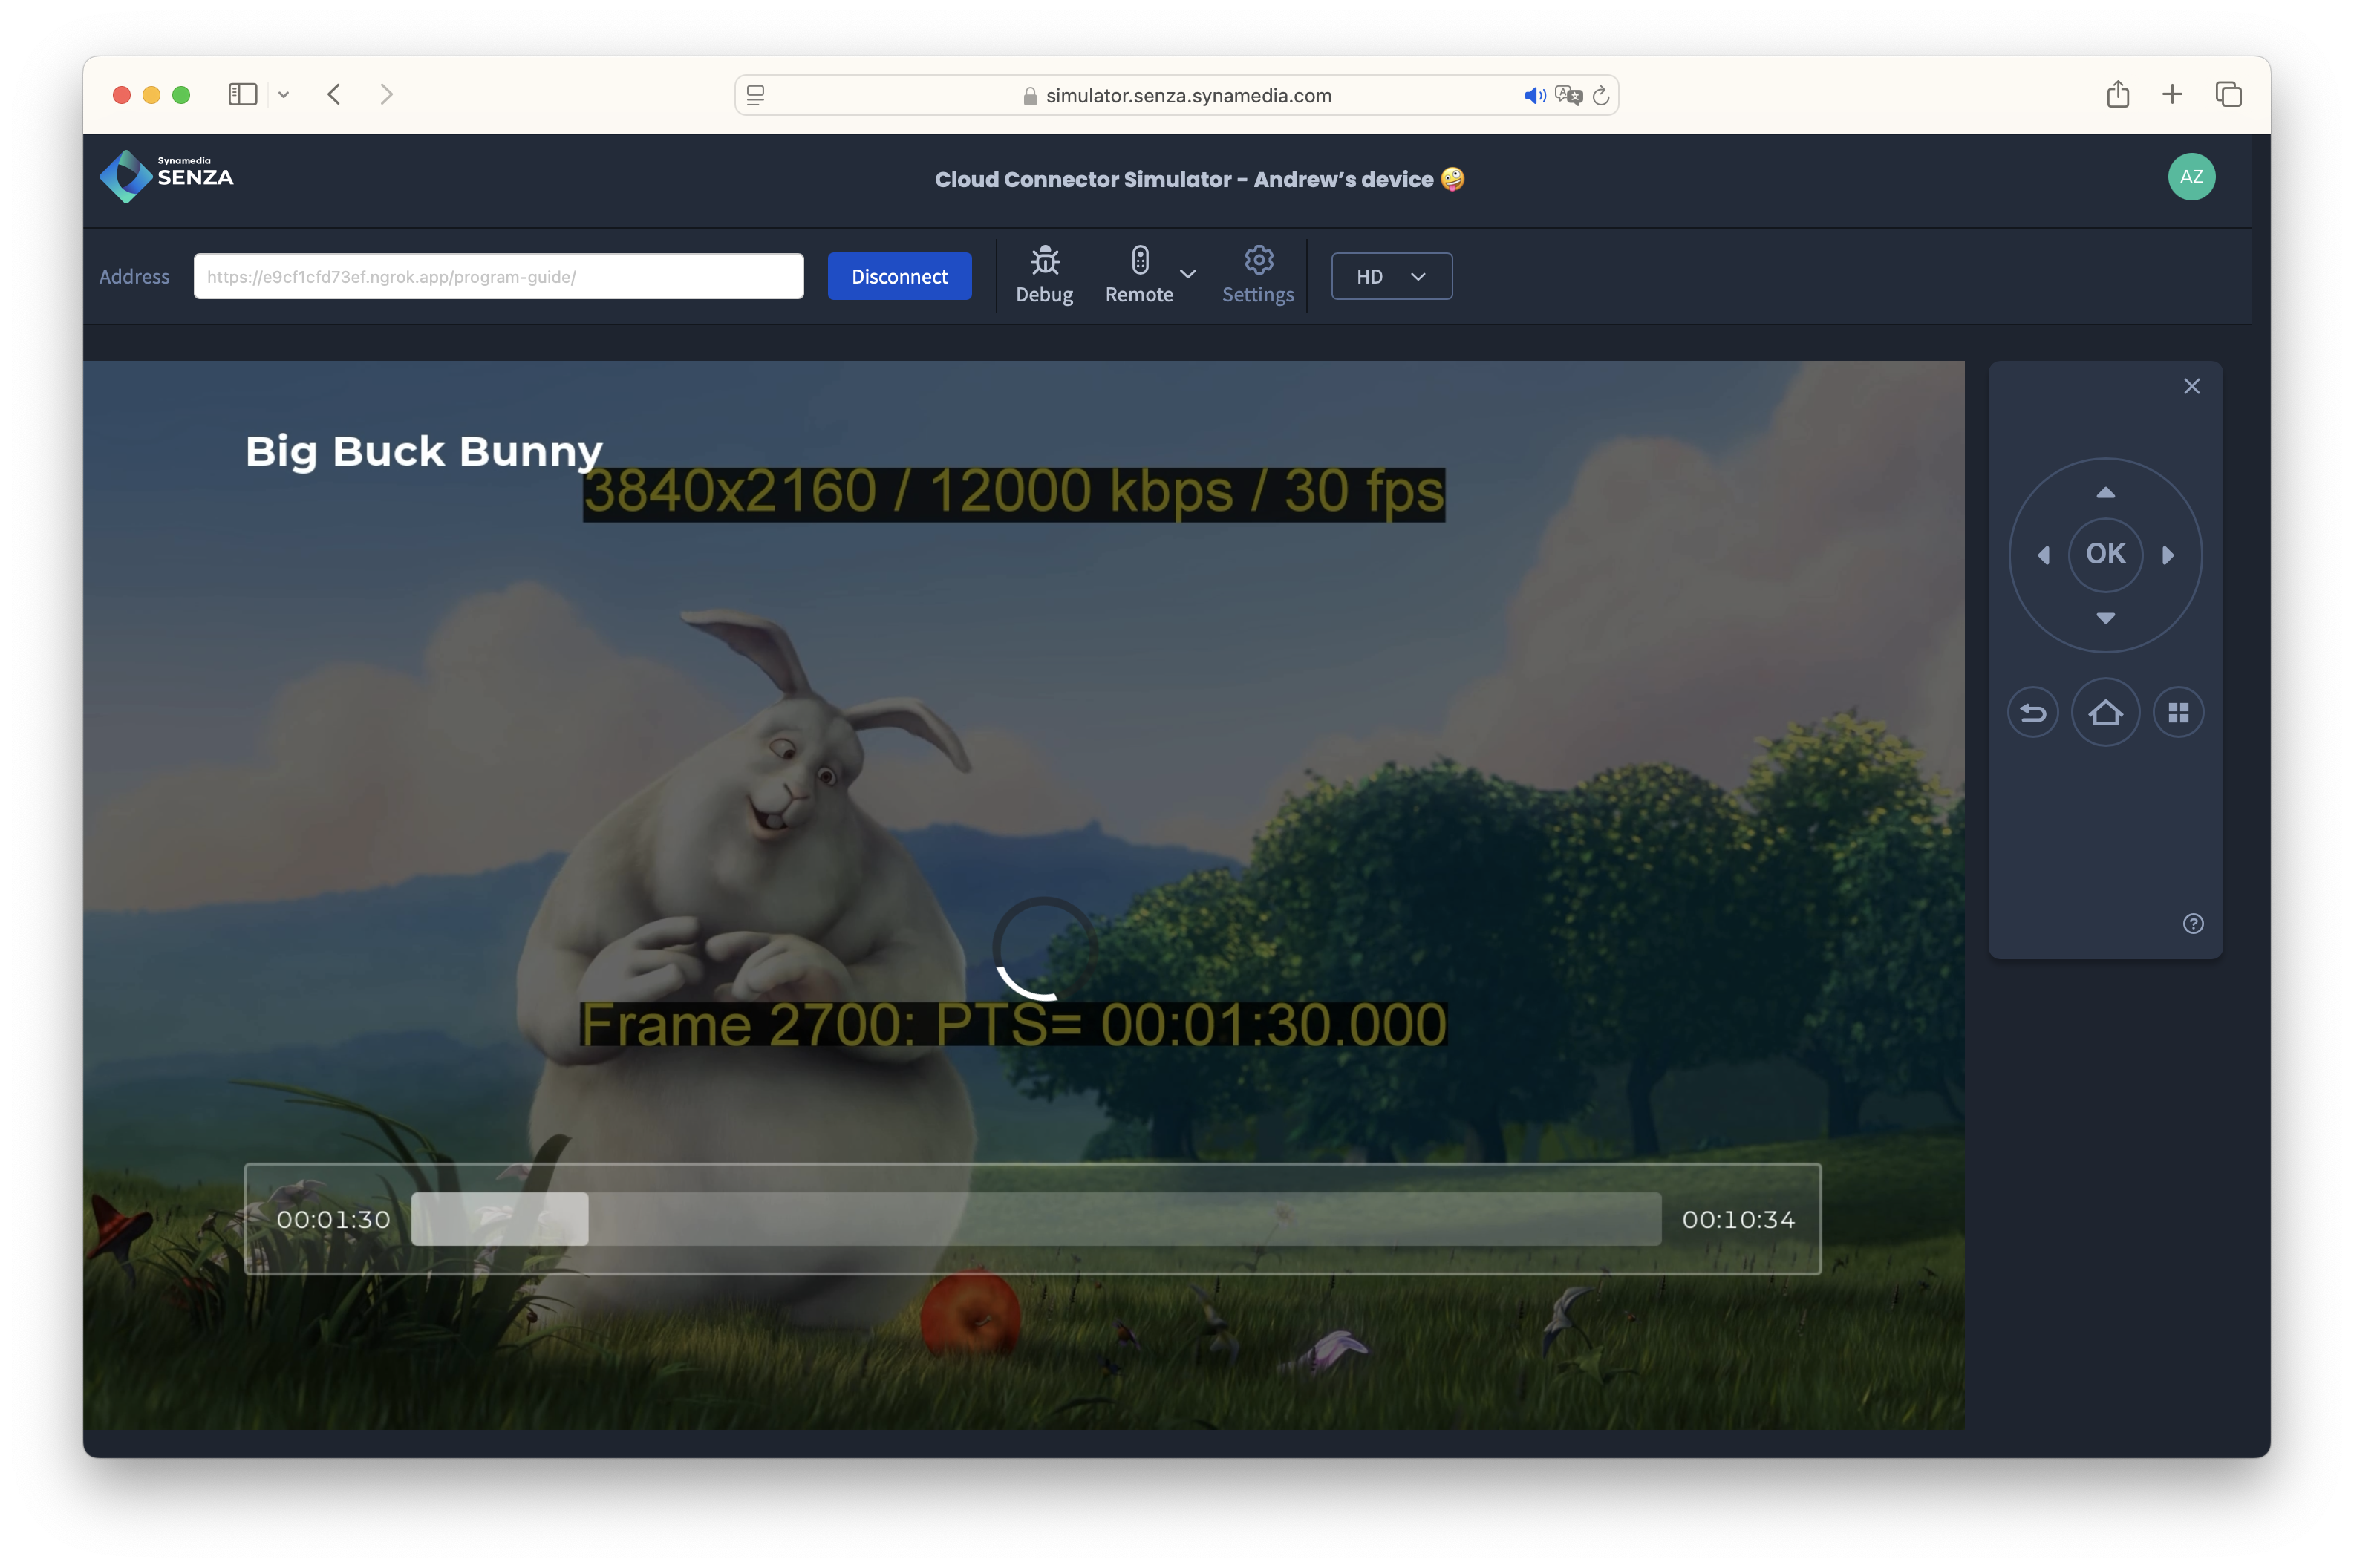
See the Techniques section for tips on Hosting Your App, Setting the URL and Viewing Your App. We'll try out the app in the Simulator.
You'll find the the app behaves the same as before, with one significant difference: when playing video, after a few seconds of inactivity, it will switch to background mode automatically. Voila!
Conclusion
As you can see, the Shaka Player subclass and the Lifecycle auto-background feature make integrating an app with the Senza platform incredibly easy.
Analytics
See the Program Guide Analytics tutorial for instructions on how to integrate analytics into this app.