Picture in Picture
Playing multiple videos with animations
Senza has a web browser running in the cloud that is more powerful than what you would get on a low-cost streaming stick. This app will demonstrate a few techniques for playing multiple videos at the same time, along with some animated transitions between states, that take advantage of this power!
The app lets you play two videos, one fullscreen and the other in picture-in-picture mode. Using the up and down arrow buttons, you can switch back and forth between the two videos.
- Source code: https://github.com/synamedia-senza/zoom
- Demo: https://andrewzc.net/zoom/

Video tutorial
Code
The app will be based on the Banner app explained in the tutorial Seamlessly switching between web apps and streaming video. But instead of using the video manager to play back one video, we'll play two.
Our index.html file will look like this. Note that we have two video tags called video1 and video2. The first will start fullscreen and the second will start out minimized.
<!DOCTYPE html>
<html>
<head>
  <title>Zoom</title>
	<link rel="stylesheet" href="styles.css">
</head>
<body>
<div id="main">
  <video id="video1" class="video" width="1920" height="1080" muted="muted"></video>
  <video id="video2" class="video" width="480" height="270" muted="muted"></video>
</div>
</body>
<script type="text/javascript" src="./dist/bundle.js"></script>
</html>
Frames
First, let's do a little math to define the frames we'll use. A frame will be defined using the distance from the top and left, and the width and height. We can also define some additional properties that we can animate, such as opacity and z-index.


We'll define one frame for fullscreen HD video. Then we'll have two frames for quarter-size video, one in the top right and the other in the bottom left. We'll offset them with a margin of 50 pixels from the corners, and display them with 80% opacity.
We'll use CSS animations to take care of all the transitions as we animate between small and large frames. All the styles we need are in styles.css . For example, when we minimize player 1 we'll animate from full screen down to a quarter-size frame in the bottom left of the screen. Using the ease timing function which is the best for the smoothest animation.
.video {
  position: absolute;
  animation-duration: 1s;
  animation-fill-mode: forwards;
  animation-timing-function: ease;
}

@keyframes minimize-zoom1 {
  0% {
    width: 1920px;
    height: 1080px;
    left: 0px;
    top: 0px;
    opacity: 1.0;
    z-index: 100;
  }
  100% {
    width: 480px;
    height: 270px;
    left: 50px;
    top: 760px;
    opacity: 0.9;
    z-index: 200;
  }
}
ZoomVideo class
We'll define class called ZoomVideo that encapsulates a video player and its position on the screen. There are functions for animating between the minimized and maximized frames for each player, using named transitions defined in the styles.
class ZoomVideo {
  init(name, video) {
    this.name = name;
    this.video = video;
    this.player = new shaka.Player(video);
  }

  animateMin() {
    this.video.style.animationName = "minimize-" + this.name;
  }

  animateMax() {
    this.video.style.animationName = "maximize-" + this.name;
  }
}
Working with VideoManager
We're going to use the exact same videoManager class for handling the switch between the local player and the remote player as we did in the Banner app. Each ZoomVideo instance has its own local player, so we'll just swap out the videoManager's local player depending upon which video is maximized. That way when we switch to the remote player, the video that is minimized will simply disappear and the one that is maximized will continue playing.
We'll define two instances of ZoomVideo called zoom1 and zoom2. Initially, zoom1 will be maximized and connected to the videoManager. The other one, zoom2, will be minimized and we'll load the video manually. For simplicity, in this example, we'll play the same video stream in both players, but we'll start zoom2 at a different position.
Note that we'll setup zoom1 and zoom2 in slightly different ways:
- We connect zoom1's player to the videoManager, because we can only connect one at a time.
- We use the videoManager to load the video into zoom1's player and the remote player. We manually load the same video into zoom2's player.
- We advance the timecode in zoom2 to 60 seconds.
- We use the videoManager to play zoom1, and manually play zoom2.
import { init, uiReady, lifecycle, alarmManager, messageManager } from "senza-sdk";
import { videoManager } from "./videoManager.js";
import shaka from "shaka-player";

const TEST_VIDEO = "https://dash.akamaized.net/akamai/bbb_30fps/bbb_30fps.mpd";

let zoom1 = new ZoomVideo();
let zoom2 = new ZoomVideo();

window.addEventListener("load", async () => {
  try {
    await init();

    zoom1.init("zoom1", video1);
    videoManager.init(zoom1.player);
    await videoManager.load(TEST_VIDEO);
    zoom1.player.getMediaElement().currentTime = 5;
    zoom1.setVolume(0.0); // otherwise won't autoplay
    videoManager.play();

    zoom2.init("zoom2", video2);
    await zoom2.player.load(TEST_VIDEO);
    zoom2.player.getMediaElement().currentTime = 60;
    zoom2.setVolume(0.0);
    zoom2.player.getMediaElement().play();

    uiReady();
  } catch (error) {
    console.error(error);
  }
});
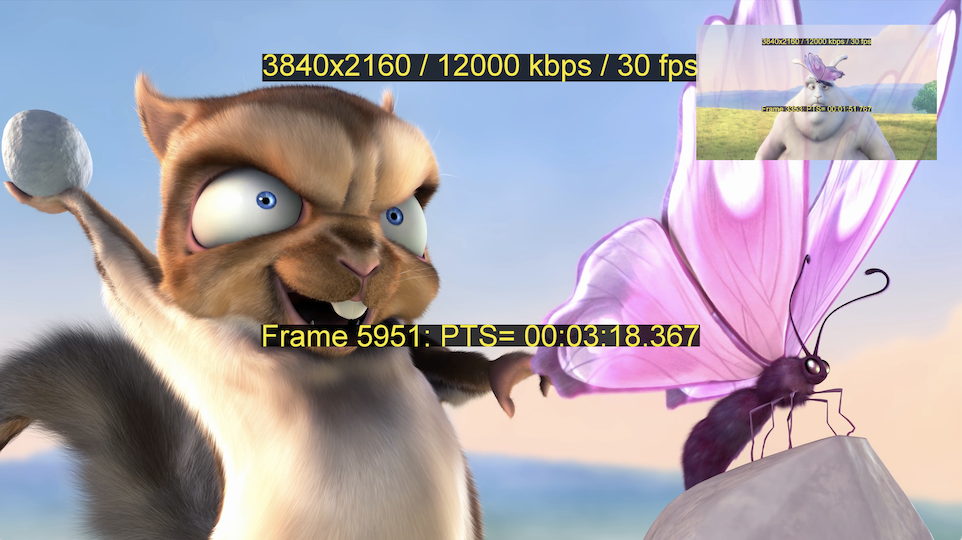
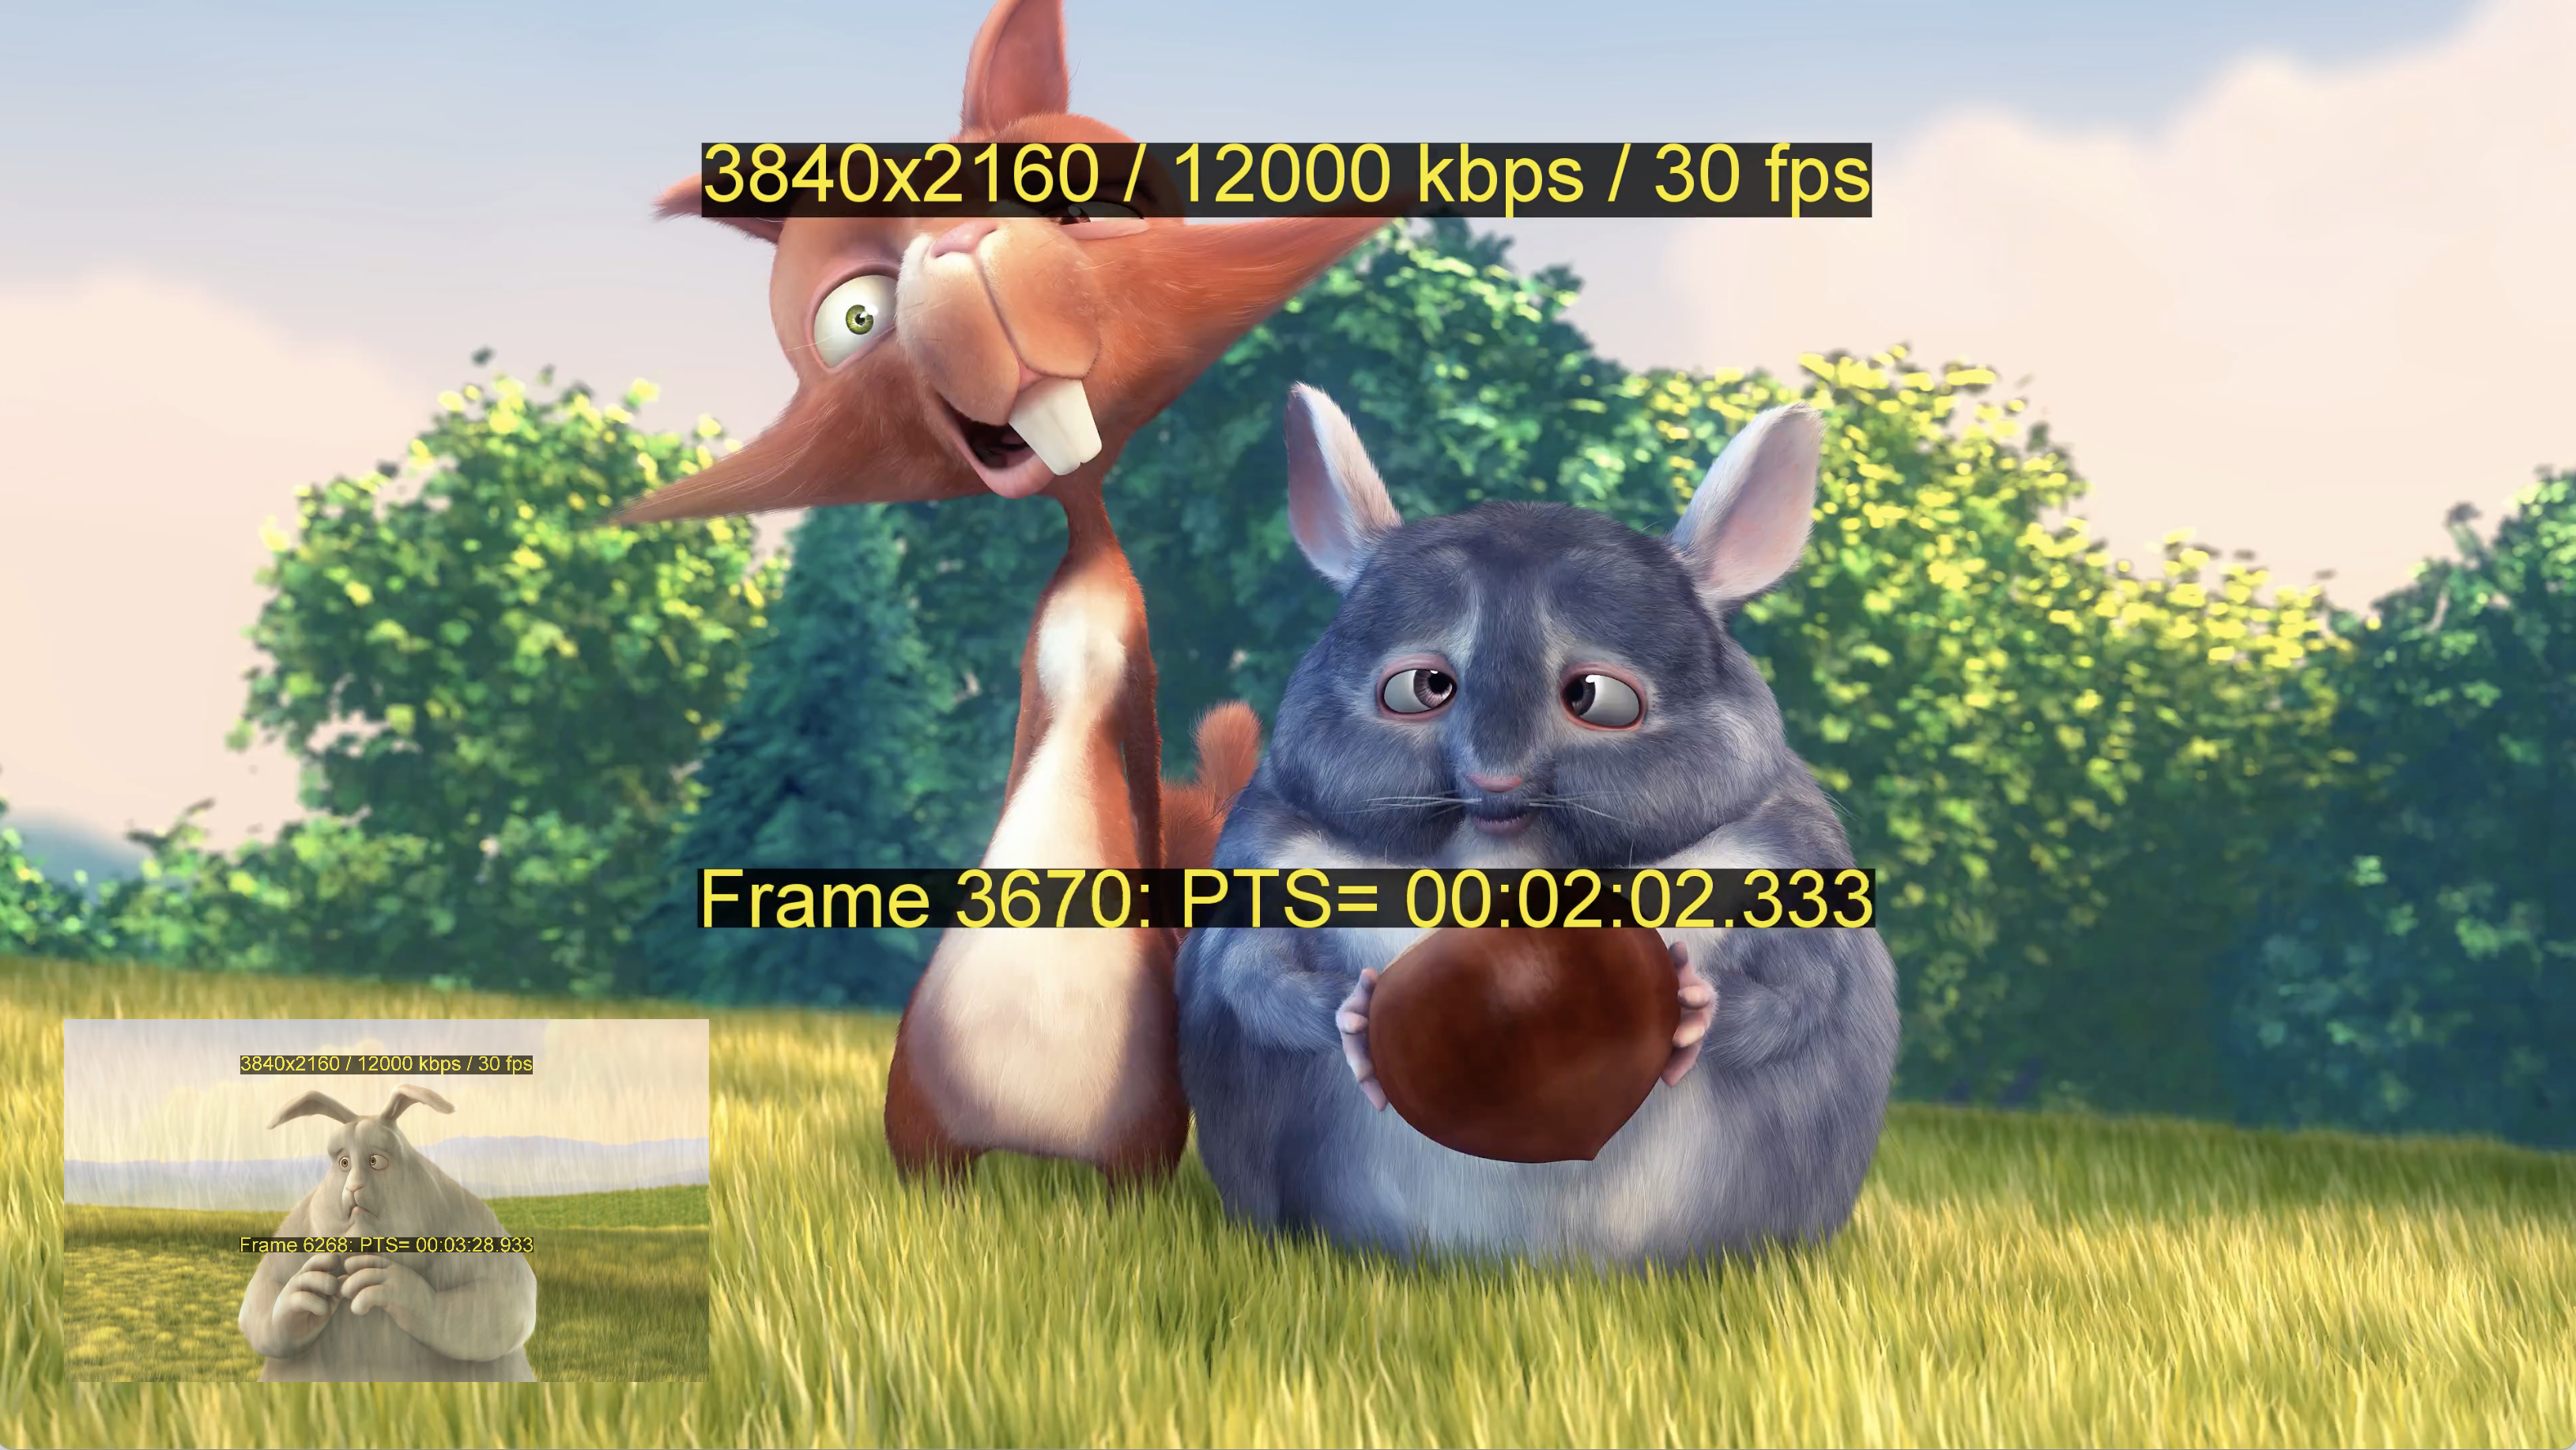
If you build the project using webpack (see the README for instructions) you should now see one video playing fullscreen and one playing in the top right corner. So far so good!
Remote control
Now let's add a handler for remote control input. Just like in the Banner app, you can use the OK botton to toggle between foreground and background video playback. Of course, only the video that is currently playing fullscreen will be shown in the remote player, since it can only play one video stream. As before, you can also use the left and right arrow keys to skip backwards and forwards by 30 seconds.
What's new in this app is we'll use the up and down buttons to switch between videos.
- The down button will make the second video fullscreen and minimize the first video to the bottom left.
- The up button will make the first video fullscreen and minimize the second video to the top right.
In both cases, we'll set the videoManager's local player to the player of the video that is fullscreen.
document.addEventListener("keydown", async function(event) {
	switch (event.key) {
    case "Enter": await videoManager.toggleBackground(); break;
    case "ArrowLeft": videoManager.skip(-30); break;
    case "ArrowRight": videoManager.skip(30); break;
    case "ArrowUp": select1(); break;
    case "ArrowDown": select2(); break;
		default: return;
	}
	event.preventDefault();
});

function select1() {
  zoom1.animateMax();
  zoom2.animateMin();
  videoManager.localPlayer = zoom1.player;
}

function select2() {
  zoom2.animateMax();
  zoom1.animateMin();
  videoManager.localPlayer = zoom2.player;
}
Now if you run the app and hit the down and up buttons, you'll see the two videos switch positions as indicated.
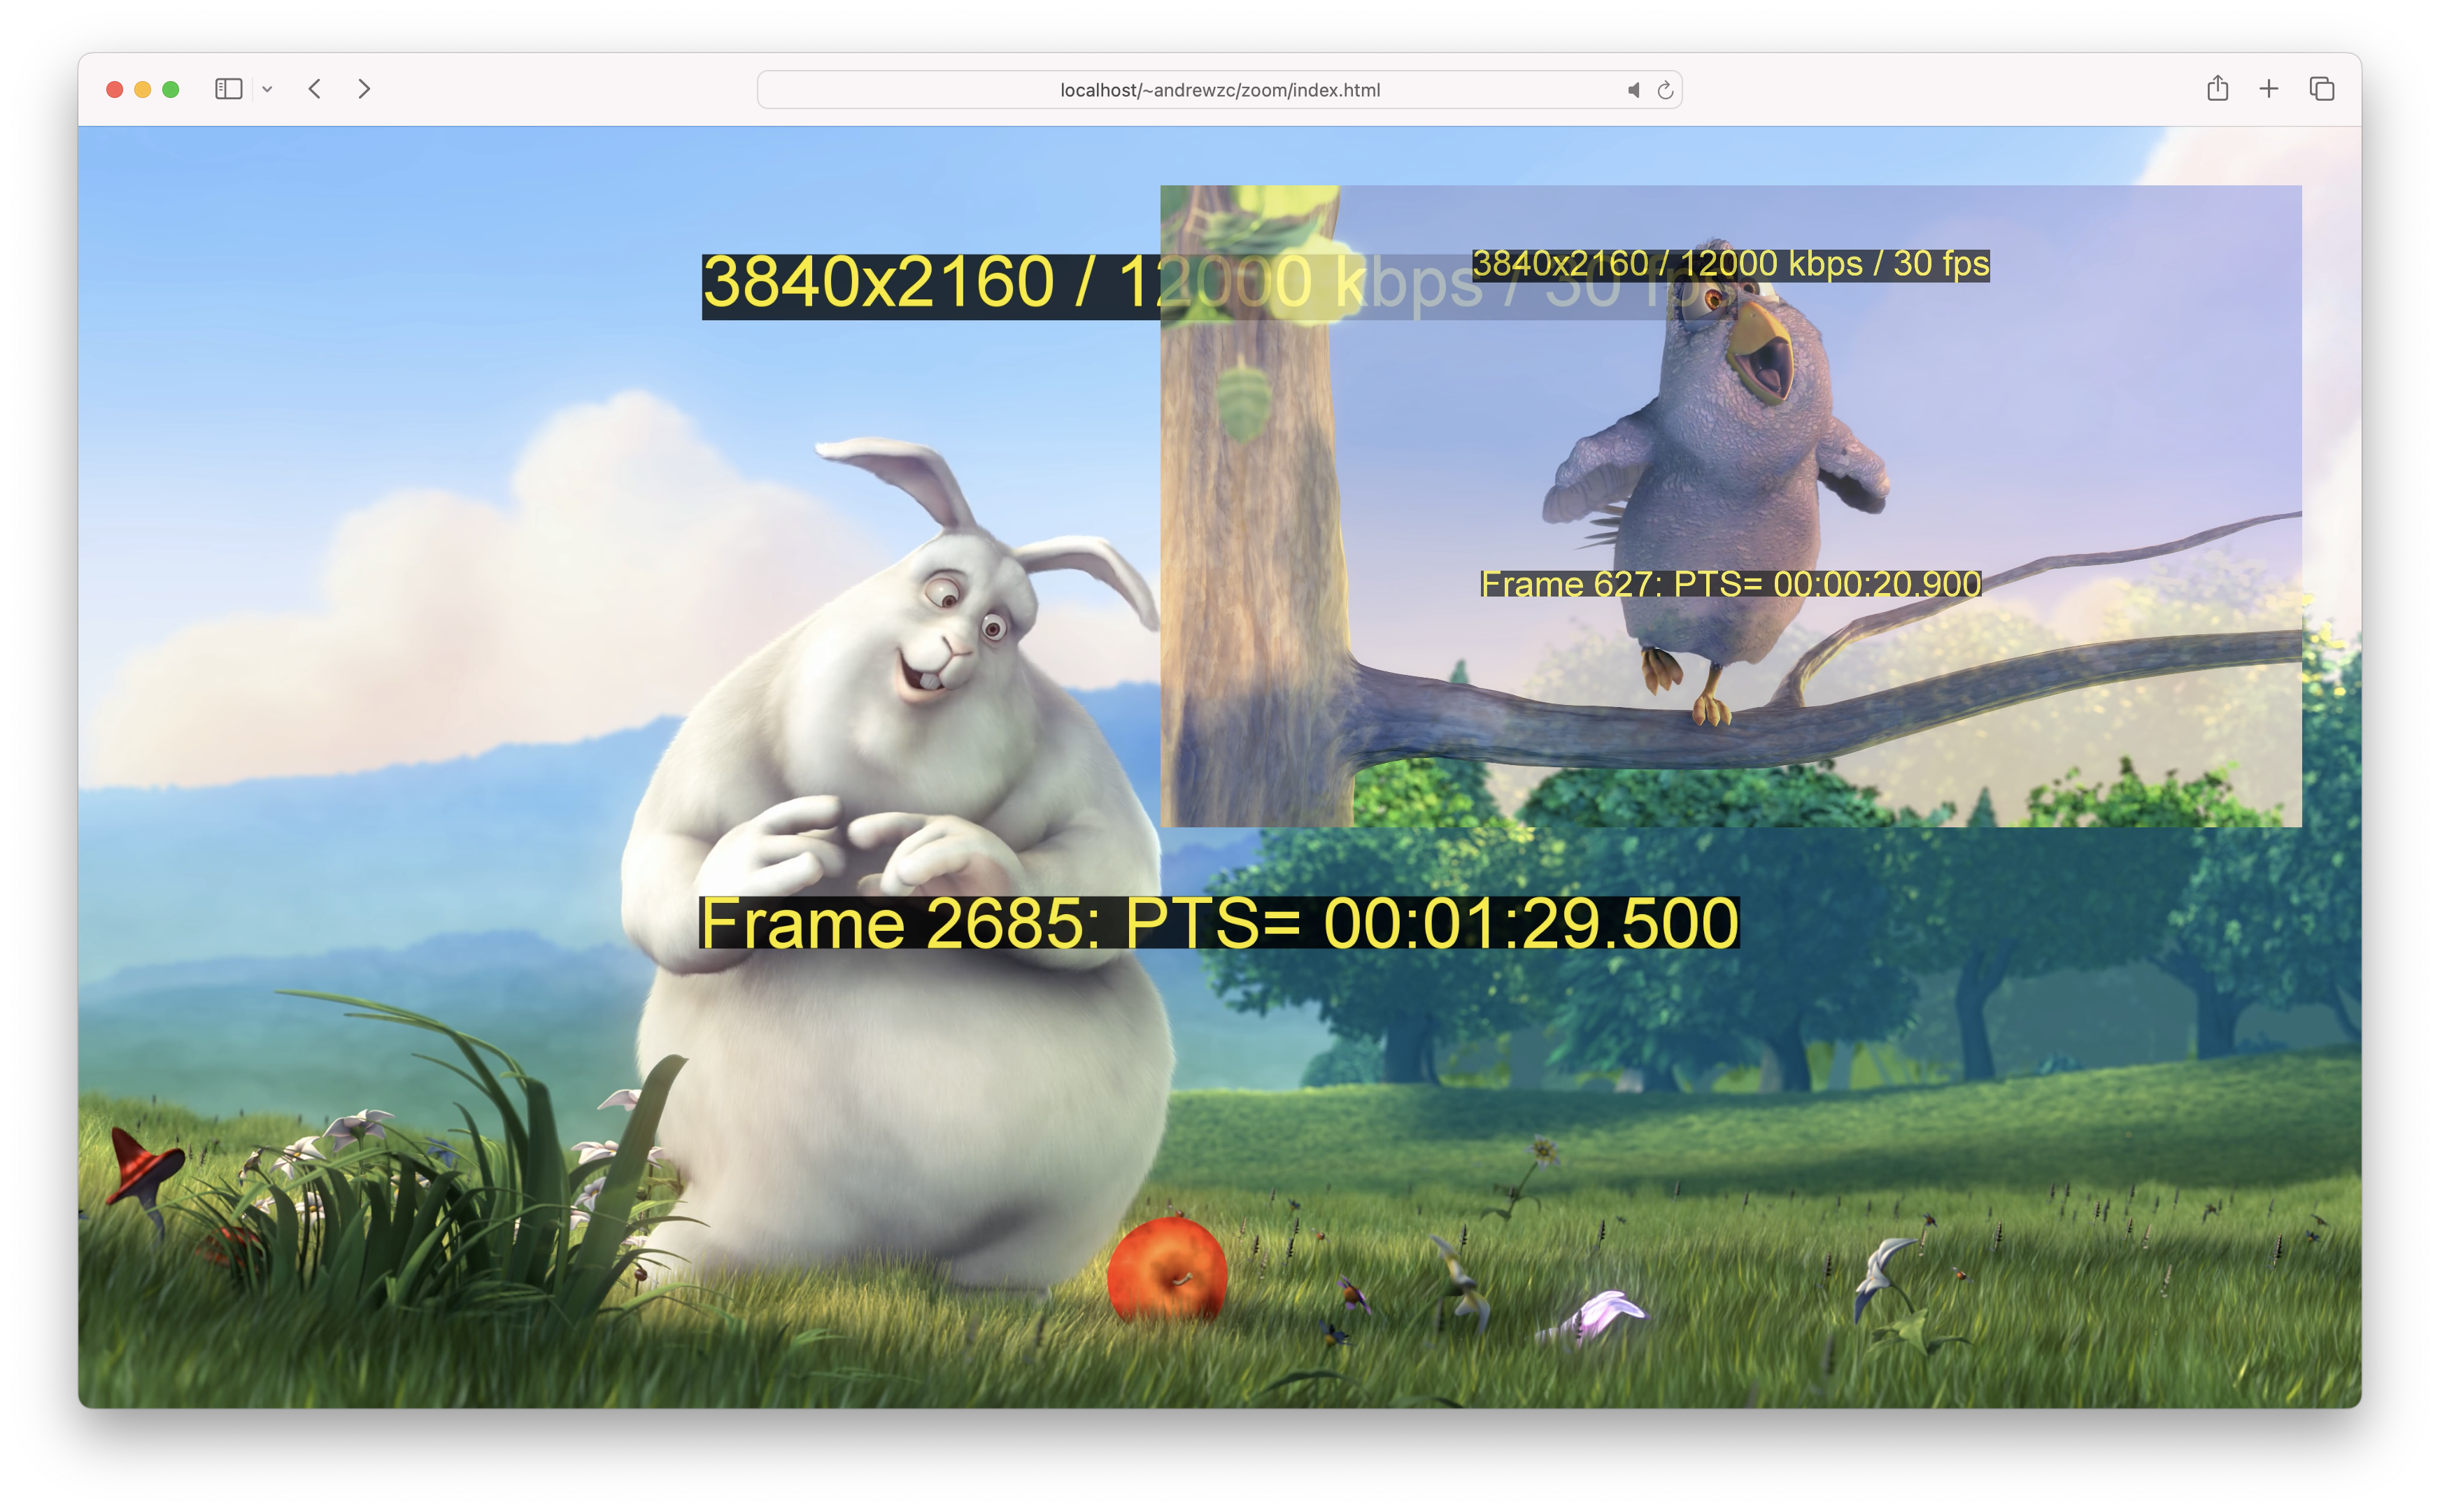
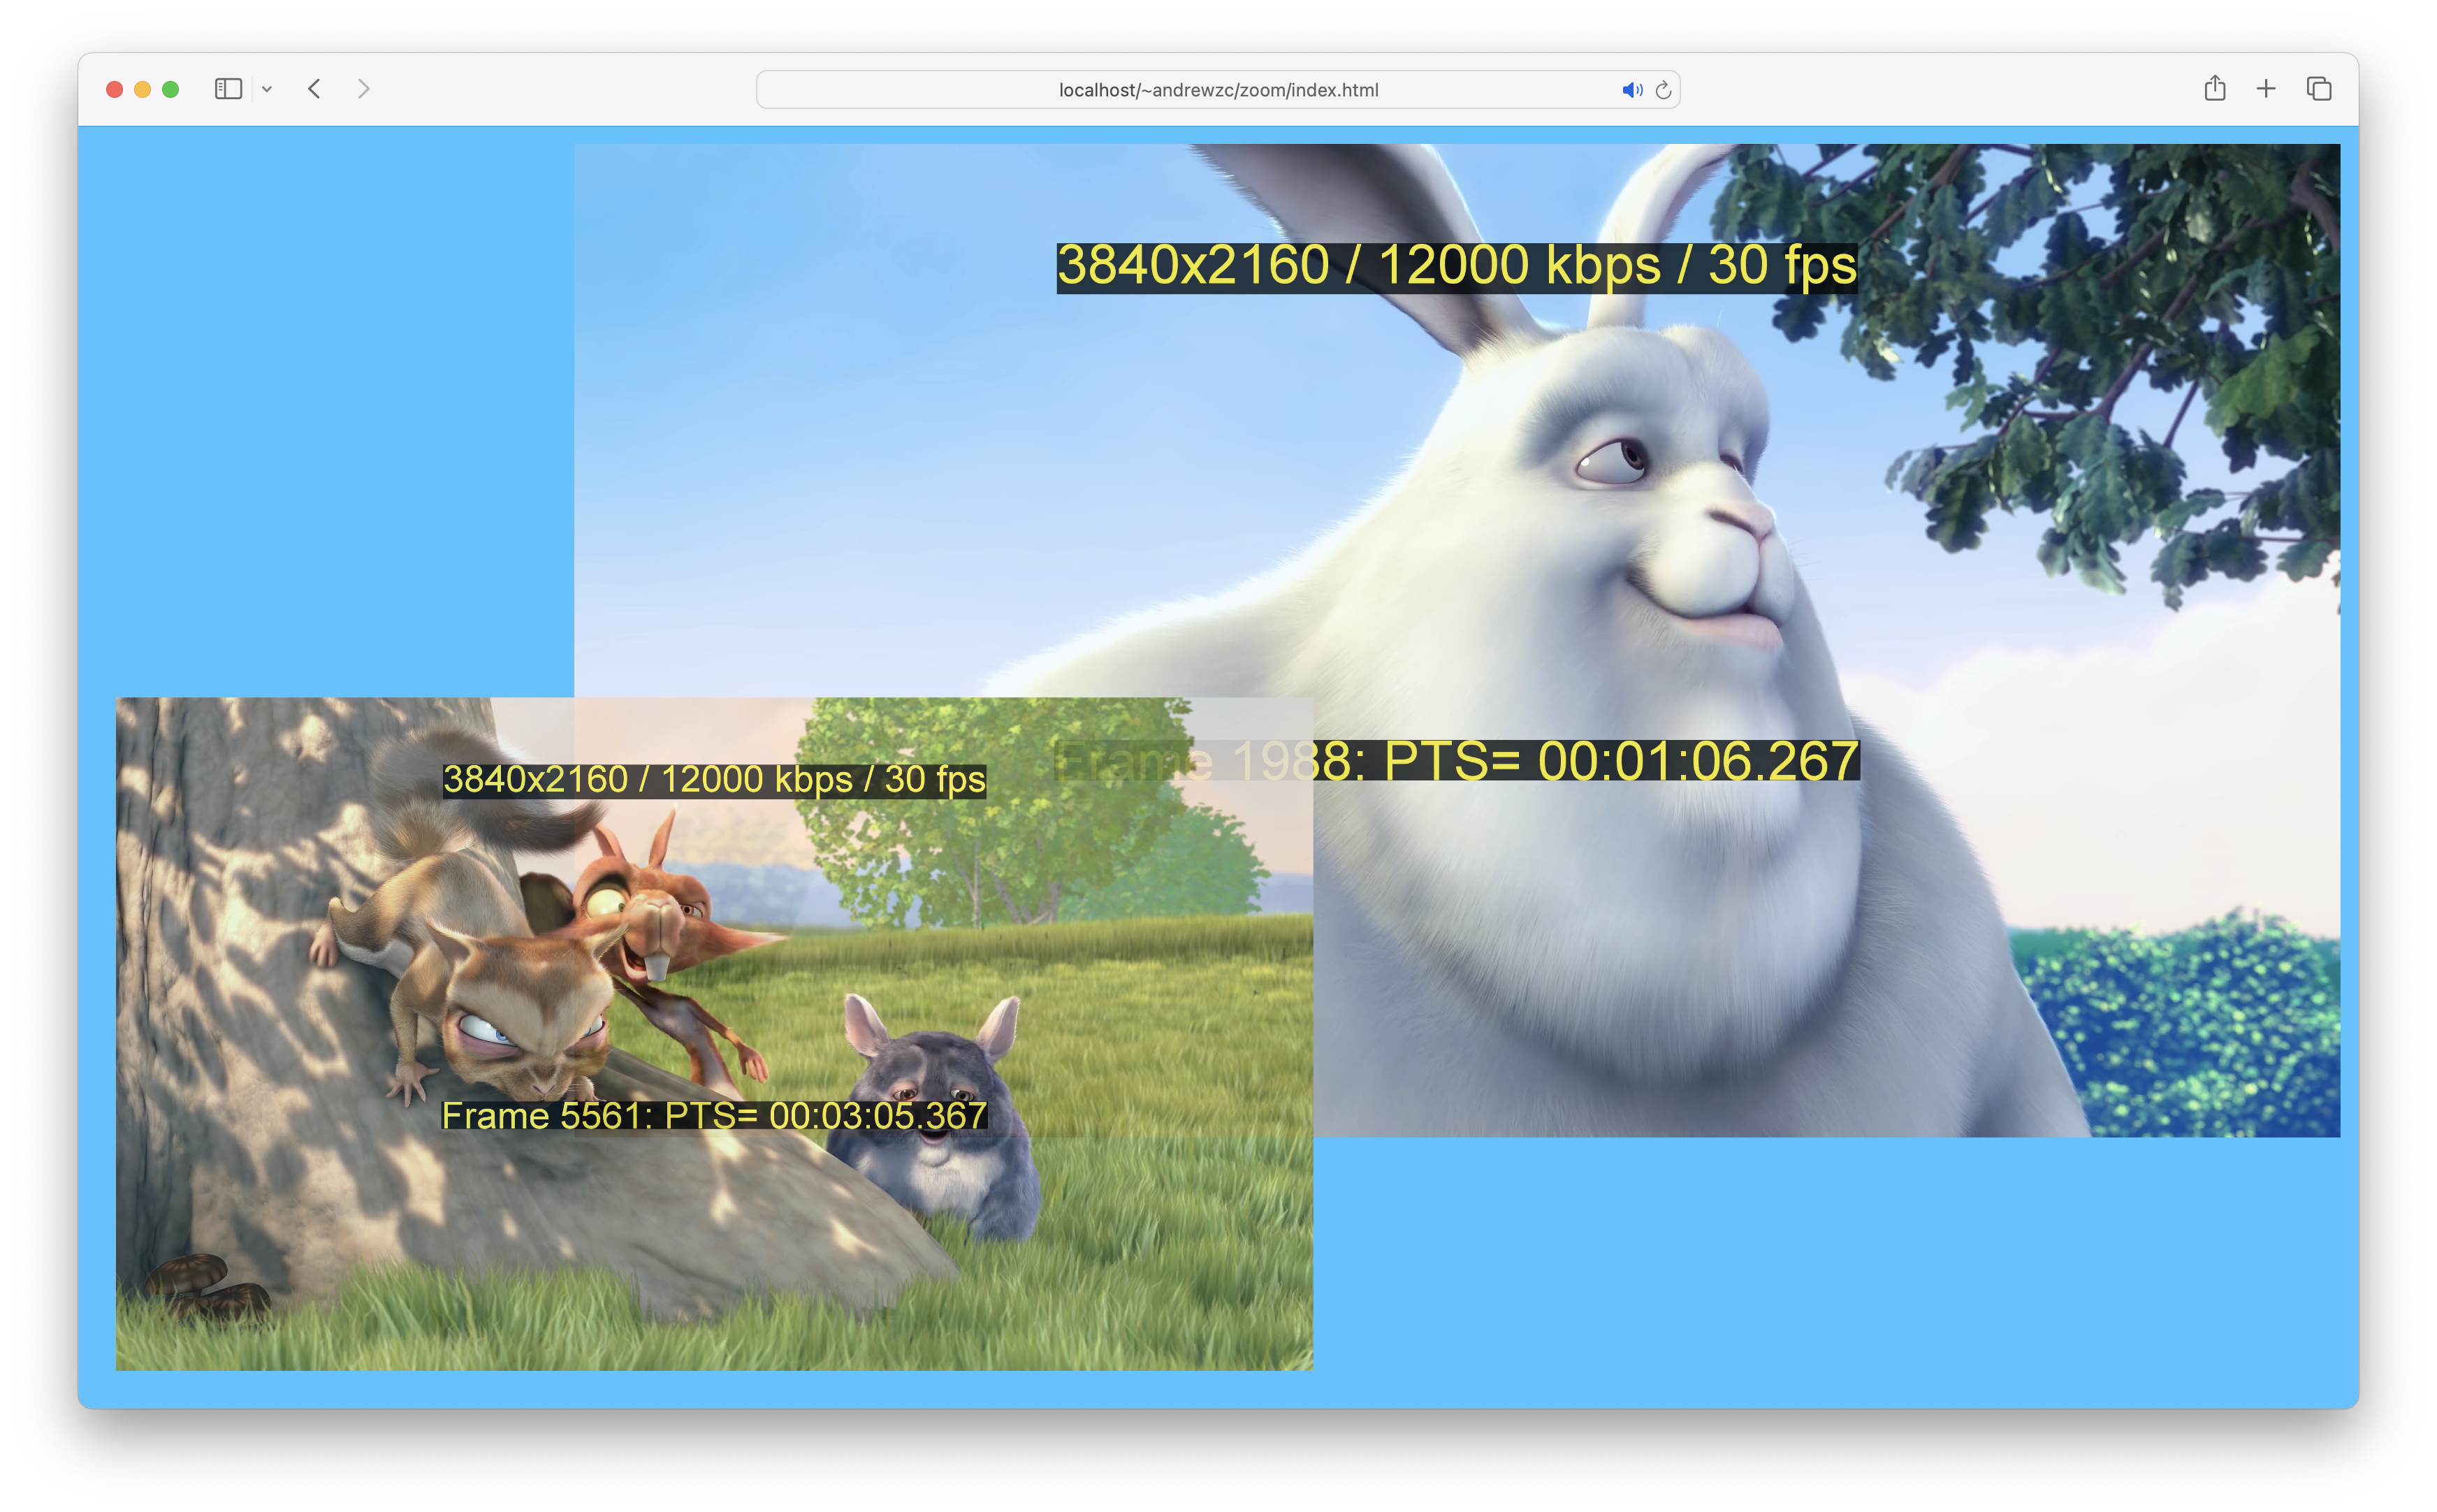
Here's how it looks in the middle of the animation when one video is getting bigger and the other is getting smaller:
 The smaller video has 90% opacity allowing some of the larger video to show through. One thing you'll notice is that the z-index is being iterated too, so when the videos are both about half-sized and they're overlapping by only a little bit, the order will switch so that the one that is getting smaller jumps above the one that is getting bigger. It's subtle but you can spot it if you're looking for it.
Volume
How about some sound? Just like the visual properties, we can "animate" the volume of the two videos for a subtle cross fade, just like on a professional mixing board!
We can't use CSS animations for adjusting the volume because it's not a style, so we'll write a function to adjust the volume the old fashioned way. (If we weren't using CSS animations, we'd iterate the style properties this way too.)
Add a method for changing the volume to the ZoomVideo class:
animateMin() {
  this.video.style.animationName = "minimize-" + this.name;
  this.adjustVolume(1.0, 0.0, 800);
}

animateMax() {
  this.video.style.animationName = "maximize-" + this.name;
  this.adjustVolume(0.0, 1.0, 1000);
}

adjustVolume(oldVolume, newVolume, ms) {
  const steps = 30;
  let count = 0;
  let current = oldVolume;
  let step = (newVolume - oldVolume) / steps;

  let interval = setInterval(() => {
    current += step;
    this.setVolume(current);

    count++;
    if (count == steps) {
      clearInterval(interval);
      this.setVolume(newVolume);
    }
  }, ms / steps);
}

setVolume(value) {
  this.video.volume = value;
}
Note that videos won't autoplay if they have sound turned on, so we start both videos with the sound off and adjust the volume from the first time that we swap the videos. Now when you switch between videos the sound will smoothly cross-fade! It's a fun effect.
Conclusion
In this tutorial you've learned a useful technique for animating elements on screen, smoothly changing visual properties like size and position, other styles like opacity and z-index, and even non-visual properties like volume. You can also see the power of the Senza platform and how it can handle playback of multiple videos even while animating them through transitions.
Updated 9 months ago