Playing Video
Seamlessly switching between web apps and streaming video
The Senza platform has two modes:
- It can use a web browser in the cloud to run HTML5 apps with rich content, including video.
- It can stream the video directly, without the need to consume the resources required for a web browser.
If your web app plays a video fullscreen, Senza can seamlessly switch between these two modes. This gives you the power to use web technologies whenever you want to, and the efficiency of streaming directly to the client when you don't need them.
- Source code: https://github.com/synamedia-senza/banner
- Demo: https://senzadev.net/banner/
See the Reference Implementation page for a brief summary of the code in this app.
See the Banner Pro section below for a version of the app that loads the client library from an NPM package, plays protected content, supports multiple audio and subtitle languages, and has additional configuration options.
Video tutorial
Banner
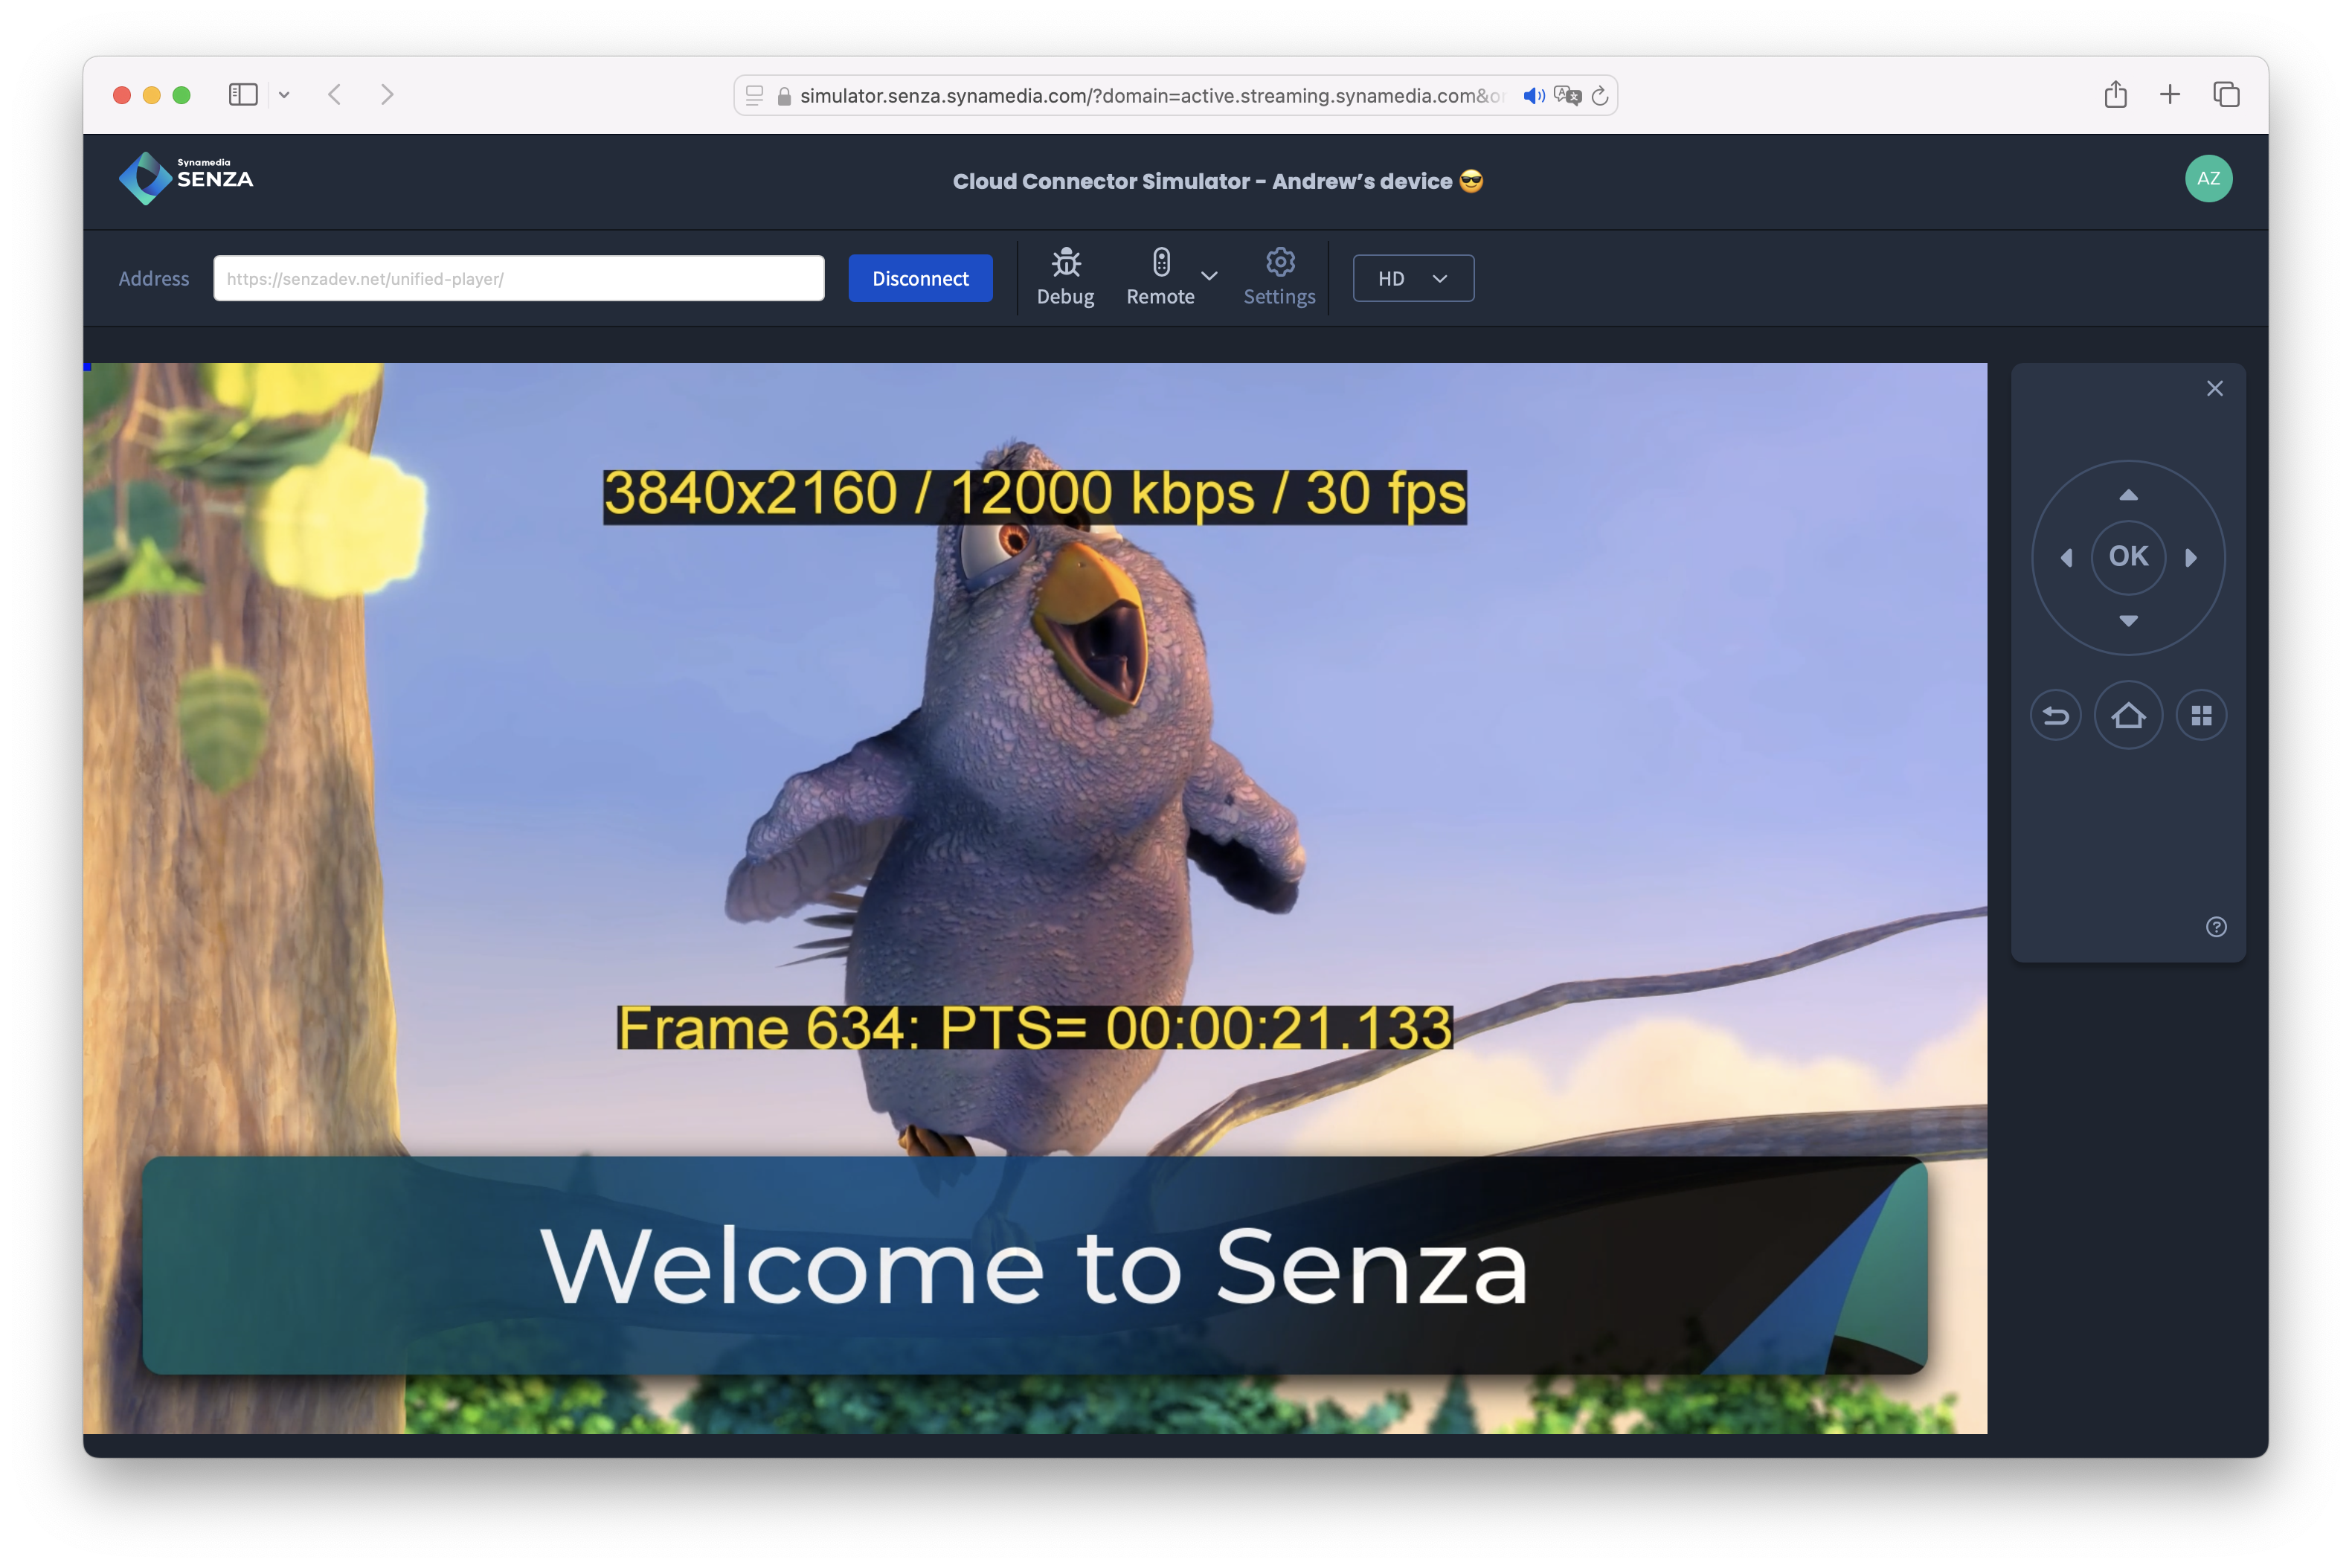
For this demo, we'll add a "Welcome to Senza" banner that displays on top of the video.
- When we want to show the banner, we'll switch to foreground mode to see the browser.
- When we want to hide the banner, we'll switch to background mode and stream the video.
Code
We can start with some HTML in index.html :
<!DOCTYPE html>
<html>
<head>
  <title>Welcome to Senza!</title>
  <link rel="stylesheet" href="styles.css">
</head>
<body>
  <div id="main">
    <video id="video" width="1920" height="1080" muted="muted"></video>
    <div id="banner">
      Welcome to Senza
    </div>
  </div>
</body>
<script type="text/javascript" src="https://senza-sdk.streaming.synamedia.com/latest/bundle.js"></script>
<script type="text/javascript" src="banner.js"></script>
</html>
You'll notice that the app has two script tags:
- The client library is loaded from https://senza-sdk.streaming.synamedia.com/latest/bundle.js.
- The app's script is loaded from
banner.js.
We have some CSS styles in the styles.css file to make our banner look pretty.
Playing video with Senza
We're going to use a subclass of the Shaka Player to help us play video on Senza. It works just like the ordinary Shaka Player, except it also manages the Remote Player for you so you can stream video directly to the cloud connector. See the Reference Integration page for more details.
Let's add some code to the banner.js script. We'll configure the player so that it can play our favorite bunny video.
Define a constant with the URL for our video resource, and a variable for the player.
const url = "https://dash.akamaized.net/akamai/bbb_30fps/bbb_30fps.mpd";

let player;
When the page loads, we will:
- Call the
senza.init()function from the client library. - Create an instance of the Senza Shaka Player.
- Call
player.attach()with the media element. - Load the video by calling
player.load()method with the URL. - Play the video by calling
video.play()on the media element. - Call the
senza.uiReady()function when the user interface is ready.
You'll notice that several of these functions run asynchronously, so we call them using the await keyword.
window.addEventListener("load", async () => {
  try {
    await senza.init();
    player = new senza.ShakaPlayer();
    await player.attach(video);
    await player.load(url);
    await video.play();
    uiReady();
  } catch (error) {
    console.error(error);
  }
});
Remote Control input
We can handle button presses on the Remote Control by listening for keydown events.
document.addEventListener("keydown", async function (event) {
  switch (event.key) {
    case "Enter": await toggleBackground(); break;
    case "Escape": await playPause(); break;
    case "ArrowLeft": skip(-30); break;
    case "ArrowRight": skip(30); break;
    default: return;
  }
  event.preventDefault();
});
The remote control buttons will do the following:
- The OK button (enter key) will toggle between foreground and background modes. When the app is in the foreground the video plays in the local player, and when it is in the background the video plays in the remote player.
- The back button (escape key) will pause or play the video.
- The left and right arrow keys will skip backwards and forwards by 30 seconds.
Here are a few helper functions that we'll use to toggle back and forth between different states:
async function toggleBackground() {
  if (senza.lifecycle.state == senza.lifecycle.UiState.BACKGROUND) {
    await senza.lifecycle.moveToForeground();
  } else {
    await senza.lifecycle.moveToBackground();
  }
}

async function playPause() {
  if (video.paused) {
    await video.play();
  } else {
    await video.pause();
  }
}

function skip(seconds) {
  video.currentTime = video.currentTime + seconds;
}
Auto Background
Using the OK button to toggle between foreground and background mode is a great way for you to understand how the platform works. But in a production app, you would want to move to background automatically rather than manually.
Conveniently, the Lifecycle object has an auto background feature that will automatically move to background after a period of inactivity. Then if the user presses any button, it will move back to the foreground. You can turn it on and configure the timeout like this:
senza.lifecycle.configure(lifecycleConfig());

function lifecycleConfig() {
  return {autoBackground: {
    enabled: true,
    timeout: {playing: 15, idle: 15}
  }};
}
Note that you can configure the timeouts separately depending on whether video is playing or paused. If video is playing then it will stream the video in background mode, otherwise it will just freeze the screen.
Video resolution
The Big Buck Bunny video in this example uses adaptive bitrate streaming, with video tracks up to 4K resolution. Playing in 4K makes the player do more work than necessary, as the Senza platform streams video in HD resolution. We can configure the Shaka player to limit the video resolution like this:
player.configure(playerConfig());

function playerConfig() {
  return {abr: {restrictions: {maxHeight: 1080}}};
}
As the video has information about the current video track burned in to the video, you'll notice that when you run the app now it goes up to 1920 x 1080 resolution.
Try it out
That's really about it for the implementation of the app! Most of the details are handled by the Senza Shaka Player. See the Reference Integration page for more details on the implementation.
Try viewing your app in the device simulator or on a cloud connector device to see how it works! When you load the page you'll see the video start playing. Try pressing OK to toggle between foreground and background modes, back to pause or play the video, left to skip backwards, and right to skip forwards.
You've learned in this demo how easy it can be to play video in the local player using the web browser, to stream the video directly to the device using the local player, and to switch back and forth.
That's it for the basic version of the Banner app! Keep reading for version with some additional features.
Banner Pro
This advanced version of the app loads the client library from an NPM package, supports protected content and subtitles, and has a few additional configuration options.
- Source code: https://github.com/synamedia-senza/banner-pro
NPM package
We're going to use webpack to transpile all your scripts, including the client library, into one bundle.
First, make sure you have installed Node.js and the Client Library.
Create a package.json file like this:
{
  "name": "banner",
  "version": "1.0.0",
  "description": "",
  "main": "index.js",
  "author": "",
  "license": "ISC",
  "devDependencies": {
    "webpack": "^5.72.1",
    "webpack-cli": "^4.9.2"
  },
  "dependencies": {
    "senza-sdk": "^4.2.54",
  }
}
When you import the senza-sdk package, it will also install the Shaka player as a dependency. That will let you use our subclass of the Skaka player to play video both in your app and on the cloud connector.
And a webpack.config.js file like this:
const path = require("path");

module.exports = {
    entry: ["./index.js"],
    mode: "development",
    output: {
        path: path.resolve(__dirname, "dist"),
        filename: "bundle.js"
    }
};
Run the following commands once to download the required node modules. This will create a node_modules folder and a package-lock.json file.
npm install
npm ci
Now each time you make changes to the banner.js file, run the webpack command to update the bundle.js file in the dist folder:
npx webpack -w --config webpack.config.jsThe -wflag tells the command to stay running, and it will continuously watch your code for changes. That way you don't have to run the command each time you modify your code.
In the HTML, instead of loading the Senza client library with a script tag and linking directly to bundle.js, we'll link to the bundle.js file like this:
<script type="text/javascript" src="./dist/bundle.js"></script>And at the top of the banner.js file, we'll import everything from the Senza SDK like this:
import * as senza from "senza-sdk";You may also see some apps that import specific items from the SDK:
import {lifecycle, remotePlayer} from "senza-sdk";In that case you would use the objects directly instead of prepending senza like senza.lifecycle.
URL options
Let's add an options object that we'll use for keeping track of options specified in the URL:
let options = {
  "url": getParam("url", "https://dash.akamaized.net/akamai/bbb_30fps/bbb_30fps.mpd"),
  "licenseServer": getParam("licenseServer", null),
  "autoBackground": getParam("autoBackground", "true") == "true",
  "timeout": Number(getParam("timeout", 15)),
  "maxHeight": Number(getParam("maxHeight", 1080)),
  "time": Number(getParam("time", 0)),
  "audio": getParam("audio", null),
  "text": getParam("text", null),
}

function getParam(name, defaultValue = null) {
    const urlParams = new URLSearchParams(window.location.search);
    return urlParams.has(name) ? urlParams.get(name) : defaultValue;
}
We can remove the url constant and update the app to use some of these options:
await player.load(options.url);

function lifecycleConfig() {
  return {autoBackground: {
    enabled: options.autoBackground,
    timeout: {playing: options.timeout, idle: options.timeout}
  }};
}

function playerConfig() {
  let config = {abr: {restrictions: {maxHeight: options.maxHeight}}};
  return config;
}
Now you can override the options at runtime when you link to the app like this:
- Turn off auto background: https://senzadev.net/banner/?autoBackground=false
- Set the timeout to 20 seconds: https://senzadev.net/banner/?autoBackground=true&timeout=20
- Play video at 720p resolution: https://senzadev.net/banner/?maxHeight=720
We'll cover some of the other options below.
Protected content
Using the regular Shaka player, the only thing you need to do to play Protected Content is to specify the URL of the license server, as explained in Shaka's DRM Configuration tutorial.
When you use the Senza subclass of the Shaka Player, you can also play the same protected content in background mode using the Remote Player with no additional work! Here's how to set the license server:
function playerConfig() {
  let config = {abr: {restrictions: {maxHeight: options.maxHeight}}};
  if (options.licenseServer) {
    config.drm = {servers: {"com.widevine.alpha": options.licenseServer}};
  }
  return config;
}
Try setting the parameters as follows with this link:
url: https://cdn.bitmovin.com/content/assets/art-of-motion_drm/mpds/11331.mpdlicenseServer: https://cwip-shaka-proxy.appspot.com/no_auth
You'll see that the content plays as expected in both foreground and background mode.
Other options
We can add support for a few more options like this:
if (options.time) video.currentTime = options.time;
senza.remotePlayer.addEventListener("tracksupdate", updateTracks);

function updateTracks() {
  if (options.audio) player.selectAudioLanguage(options.audio);
  if (options.text) player.selectTextLanguage(options.text);
  if (options.text) banner.style.opacity = 0;
  player.setTextTrackVisibility(options.text != null);
}
Now you can call the app like this:
- Start playing at 60 seconds: https://senzadev.net/banner/?time=60
- Set the audio to French: https://senzadev.net/banner/?audio=fr
- Set the subtitles to Spanish: https://senzadev.net/banner/?text=es
When the audio and text languages are selected on the Shaka Player, the remote player will use them as well.
Analytics
See the Playing Video Analytics tutorial for instructions on how to integrate analytics into this app.